Trek Mountain Bikes
A practical step-by-step guide to trek mountain bikes, including preparation, instructions, common issues, tips, and next steps.
Trek Mountain Bikes
This guide provides clear, practical instructions on how to plan and execute your first mountain bike trek, often called bikepacking. Whether you're planning a weekend adventure or a longer journey, we'll walk you through everything from choosing a route and packing your gear to handling common problems on the trail. This is for anyone with a reliable mountain bike and a desire to explore the outdoors on two wheels.
Fast Answer
- Core Principle: Pack only what is essential and distribute the weight evenly across your bike for better handling and more enjoyment on the trail.
Before You Start
Proper preparation is the key to a successful and enjoyable mountain bike trek. Taking the time to gather the right equipment and check a few key details beforehand will prevent most common issues and allow you to focus on the ride. This isn't about having the most expensive gear, but the right gear for your planned trip.
What You Need
- A Suitable Mountain Bike: A well-maintained hardtail or full-suspension mountain bike that you are comfortable riding.
- Bikepacking Bags: A combination of a saddle pack, frame bag, and handlebar roll is typical. You can also use a small backpack.
- Navigation Tools: A GPS device or a smartphone with a mapping app, plus a power bank. A physical map and compass are essential backups.
- Bike Repair Kit: Multi-tool, tyre levers, patch kit, spare inner tube, mini-pump, and chain lubricant.
- Camping Gear: Lightweight tent or bivvy bag, sleeping bag, and sleeping mat appropriate for the expected weather.
- Cooking System: A small stove, fuel, pot, and utensils if you plan to cook hot meals.
- Clothing: Layered cycling clothing, including waterproofs, and comfortable clothes for camp.
- First-Aid Kit: A basic kit with plasters, antiseptic wipes, pain relief, and any personal medication.
Safety, Timing, or Context Checks
- Assess Your Fitness: Be realistic about the distance and elevation you can handle, especially with a loaded bike. Start with shorter, flatter routes.
- Check the Weather Forecast: Check the detailed forecast for your entire route right before you leave. Be prepared for changes, especially in hilly or remote areas.
- Inform Someone of Your Plan: Leave a detailed copy of your route, itinerary, and expected return time with a reliable person.
- Verify Trail Access: In the UK, rights of way can be complex. Ensure you are legally allowed to cycle on your chosen trails. Check local authority websites or trail associations for information.
Step-by-Step Instructions
Following a structured process will make your mountain bike trek smoother and more enjoyable. Each step builds on the last, from the initial idea to being out on the trail.
Plan Your Route Carefully
Your route is the backbone of your trip. For a first trek, choose a well-established route or one that is easy to navigate. Aim for a distance that is challenging but achievable; 30-60 kilometres (20-40 miles) per day is a reasonable target for a beginner on mixed terrain.
Use online mapping tools like Komoot, Ride with GPS, or OS Maps to plot your course. Pay close attention to a few key details:
- Elevation Profile: A route with 1,000 metres of climbing is much harder than a flat one of the same distance.
- Water Sources: Identify places to refill your water bottles, such as public taps, shops, or natural springs (if you have a filter).
- Resupply Points: Note any towns or villages where you can buy food. This allows you to carry less.
- Accommodation: Decide if you will use official campsites or wild camp (where legally permitted). Book campsites in advance during busy periods.
Select and Pack Your Gear Systematically
How you pack is as important as what you pack. The goal is to carry only essentials and to distribute the weight for optimal bike handling. Lay everything out before you start packing to ensure you haven't forgotten anything or included unnecessary items.
A common packing strategy involves three main bags:
- Saddle Pack (behind the seat): Best for bulky but light items. Pack your sleeping bag, sleeping clothes, and other camp items here.
- Frame Bag (in the main triangle): Ideal for heavy, dense items. Store your tools, spares, water bladder, and food here to keep the centre of gravity low.
- Handlebar Roll (on the handlebars): Suited for bulky gear you might need to access. Your tent or bivvy and sleeping mat often go here.
Keep frequently needed items like snacks, your phone, and a waterproof jacket in an accessible top-tube bag or jersey pocket. Use dry bags inside your main packs to keep everything protected from rain.
Prepare and Check Your Mountain Bike
Your bike is your most important piece of equipment. A pre-trek service is essential. Clean your entire bike, paying special attention to the drivetrain (chain, cassette, and chainrings). Lubricate the chain. Check every bolt for tightness, especially on your stem, handlebars, and seatpost.
Perform an "M-Check" before you set off. This involves tracing the letter 'M' over your bike to inspect key components:
- Start at the rear wheel: check tyre pressure, spoke tension, and that the wheel is secure in the frame.
- Move up to the saddle: ensure it's tight and at the correct height.
- Go down to the bottom bracket: check for any play or creaking in the pedals and crank arms.
- Move up to the handlebars: check that the headset is tight (no rocking) and that your brakes and gear levers are secure.
- Finish at the front wheel: check tyre pressure, spokes, and that the wheel is securely fastened in the fork.
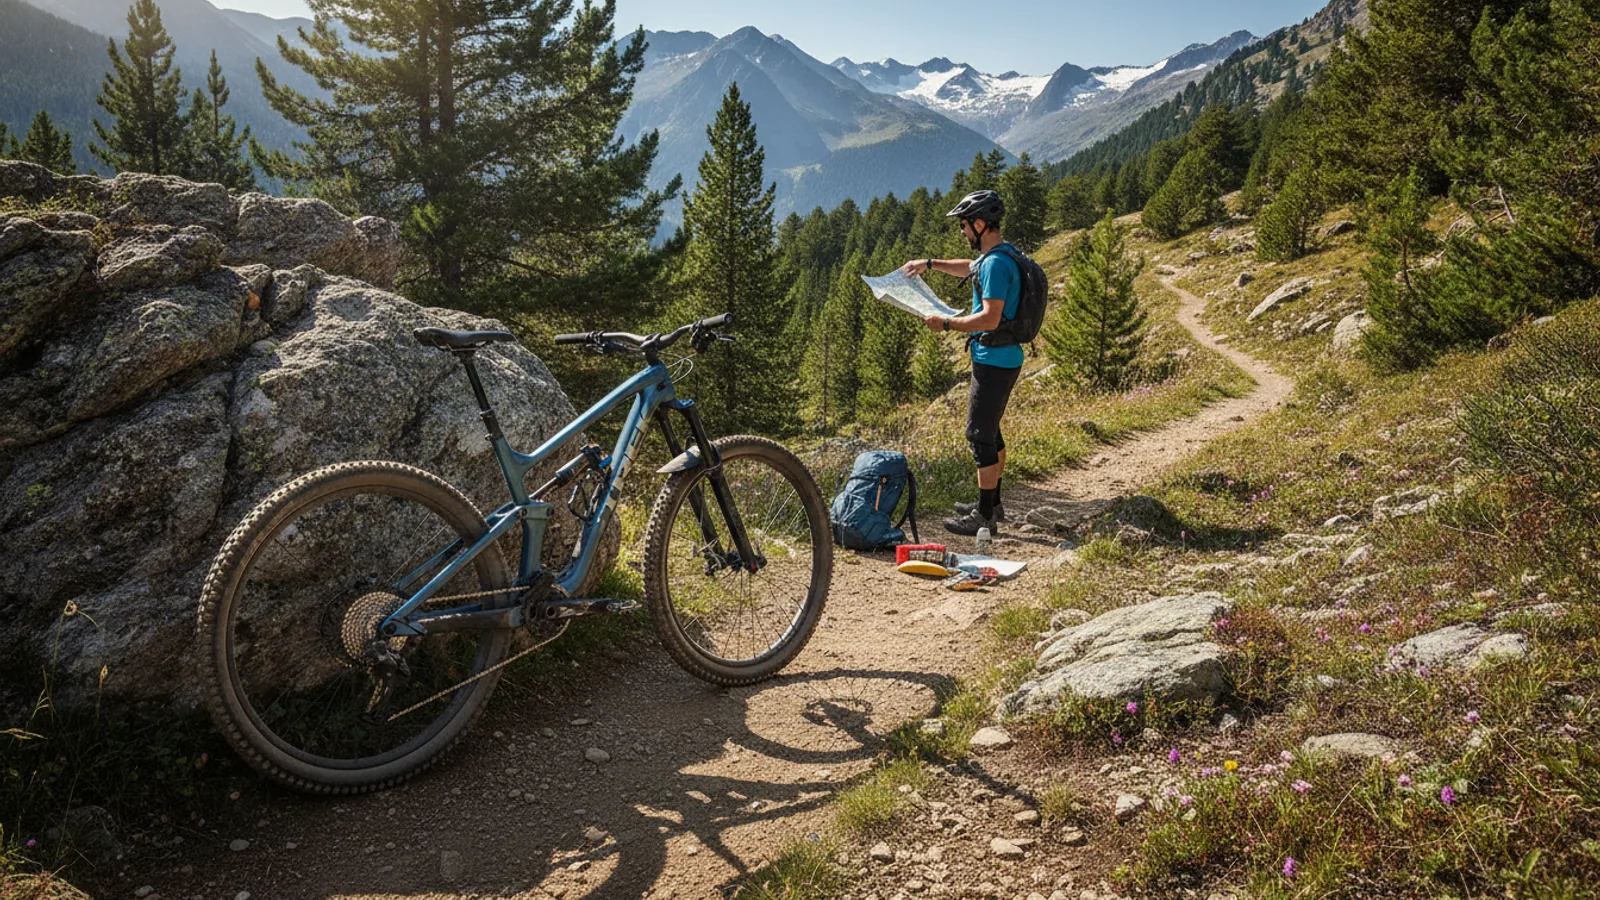
Finally, attach your bags securely. Ensure straps are tight and there's no interference with moving parts like your wheels or suspension. Check for tyre clearance, especially with a saddle pack on a full-suspension bike.
Navigate Effectively on the Trail
Once you are riding, consistent and confident navigation is crucial. Rely primarily on your GPS device or phone, which should be mounted on your handlebars for easy viewing. Glance at it regularly, especially at junctions, to confirm you are on the right track.
However, technology can fail. Batteries die and screens can break. This is why having a backup is not optional. A physical, waterproof map of the area and a simple baseplate compass are lightweight insurance. Know the basics of how to read the map and find your position. Even if you don't need it, the peace of mind is invaluable.
Set Up Camp Efficiently and Responsibly
After a long day of riding, you'll want to set up camp quickly. Aim to stop riding at least an hour before sunset to give yourself plenty of daylight. When choosing a spot to camp (if wild camping), follow the principles of Leave No Trace.
- Find a durable surface: Camp on hard-wearing ground like grass or soil, away from fragile vegetation.
- Be discreet: Set up late, leave early, and camp away from trails and properties.
- Manage your waste: Pack out everything you pack in, including all food scraps.
- Water sources: Camp at least 50 metres away from any river, stream, or lake to protect the water quality.
Have a system for setting up. First, get your shelter up in case the weather turns. Then, inflate your sleeping mat and unroll your sleeping bag to let it loft. Finally, sort out your cooking gear and prepare your evening meal. A smooth routine makes the end of the day relaxing.
Manage Your Food and Water Intake
Trekking on a mountain bike burns a lot of calories. You need to consistently fuel your body to avoid "bonking" – a sudden loss of energy caused by depleted glycogen stores. Eat small amounts of food often. Aim for a snack every 60-90 minutes.
Carry a mix of high-energy snacks for the day (cereal bars, dried fruit, nuts) and a more substantial meal for the evening. Dehydrated camping meals are lightweight and easy to prepare. For water, carry at least two large water bottles (around 750ml each) or a hydration bladder. Drink regularly, even if you don't feel thirsty. When you pass a planned water source, fill up. If using water from a stream, always treat it with a water filter or purification tablets to remove harmful bacteria.
Quick Reference
| Situation | Use this | Why |
|---|---|---|
| Punctured tyre | Tyre levers, patch kit or spare tube, mini-pump | The most common mechanical issue; this kit allows a quick trailside fix. |
| Feeling weak or dizzy ("bonking") | A sugary snack (e.g., gel or sweets) and water | Provides a rapid energy boost to replenish depleted blood sugar levels. |
| Lost on the trail | Stop, check your GPS, and consult your backup map and compass | Prevents you from going further in the wrong direction and helps you re-orient. |
| Sudden heavy rain | Waterproof jacket and trousers | Staying dry is key to preventing hypothermia and maintaining morale. |
Common Problems When You Trek Mountain Bikes
Even with perfect planning, things can go wrong. Knowing how to handle common issues will keep you safe and in control.
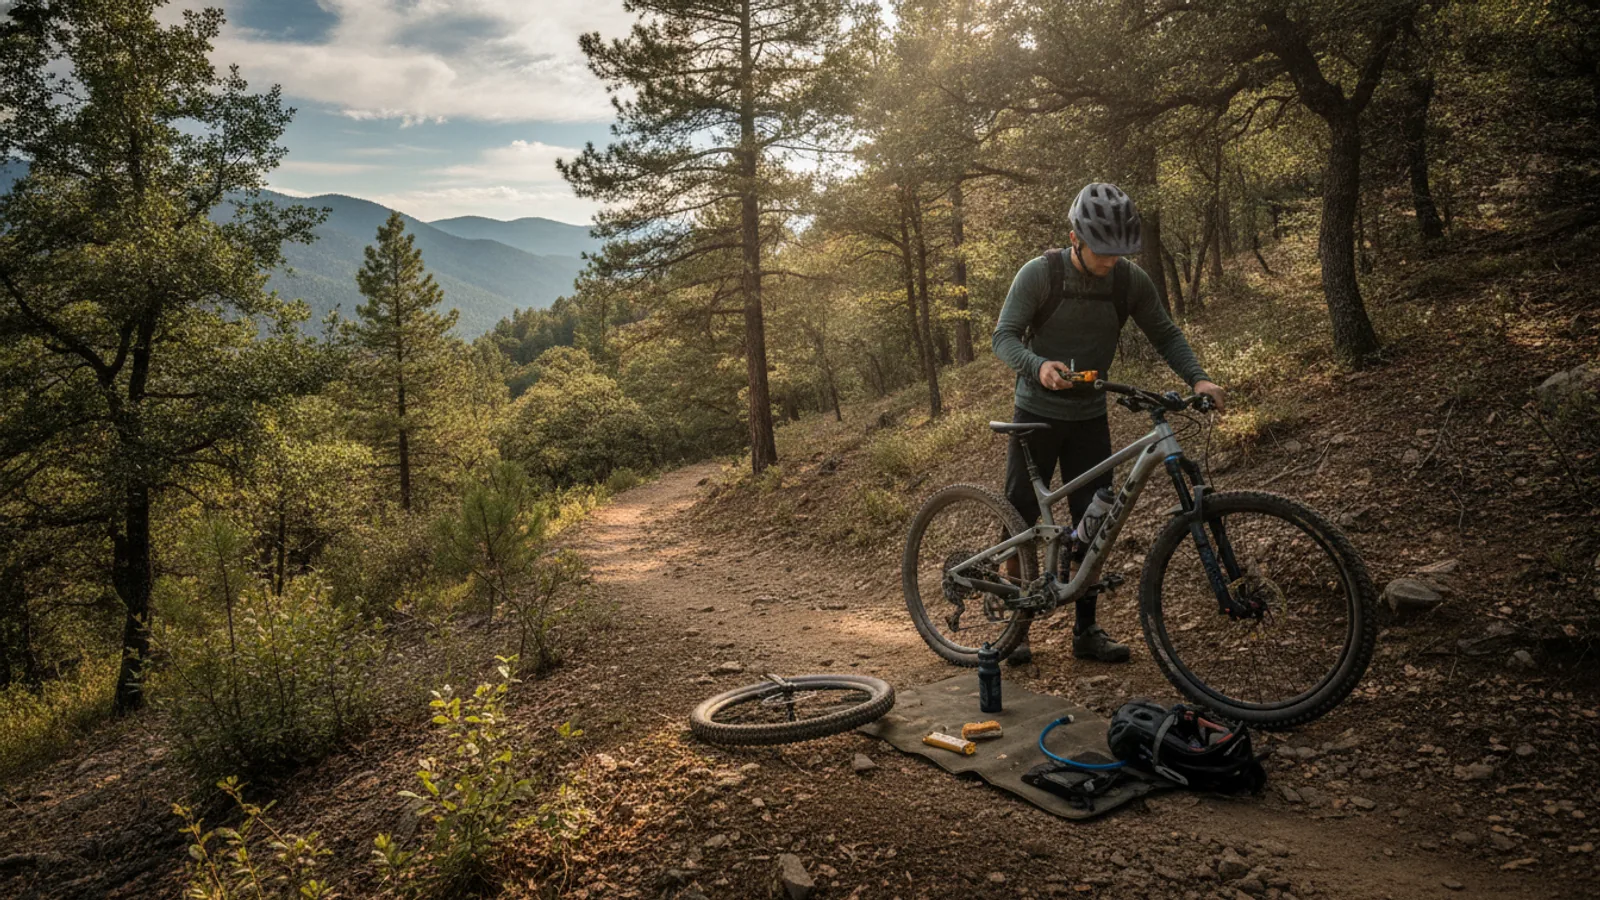
- Mechanical Failures: The most frequent problem is a flat tyre. Practice fixing one at home before you go. A broken chain is less common but can end a trip if you're unprepared. Carry a chain tool and a spare quick-link, and know how to use them. Regular creaks and noises can often be fixed by tightening bolts with your multi-tool.
- Physical Discomfort: Saddle soreness is common. Ensure your saddle is correctly adjusted and wear padded cycling shorts. Numb hands can be caused by too much pressure on the handlebars; try changing your hand position frequently and consider ergonomic grips.
- Navigation Errors: It's easy to miss a turn. If you suspect you've gone wrong, stop immediately and check your map. Backtrack to your last known point rather than pushing on in the hope of finding the trail.
- Running Out of Supplies: Miscalculating food or water can be dangerous. Always carry at least one extra emergency meal or energy bar. Be conservative with your water and use a filter to take advantage of natural sources.
Advanced Tips for Trekking Mountain Bikes
Once you have a few trips under your belt, you can start refining your setup and tackling more ambitious adventures.
- Go Ultralight: Scrutinise every item in your pack. Can you replace it with something lighter? Do you truly need it? Swapping a tent for a minimalist tarp, using a quilt instead of a sleeping bag, and cold-soaking food instead of cooking can save significant weight.
- Plan a Multi-Week Expedition: For longer trips, planning becomes more complex. You'll need to factor in rest days, major resupply points in larger towns, and plan for bike maintenance like replacing worn brake pads or tyres.
- Master Wild Camping Ethics: In the UK, wild camping is generally permitted in Scotland if done responsibly, but is not legal in most of England and Wales without landowner permission. Understand the specific laws and, more importantly, the ethical code: be invisible, leave no impact, and respect the environment.
- Improve Loaded Bike Handling: Riding a bike loaded with 10-15kg of gear is very different from riding it unloaded. Practice on local trails, focusing on slow-speed balance, braking distances, and how the bike behaves on steep, technical climbs and descents.
Trek Mountain Bikes FAQ
What kind of mountain bike is best for trekking?
How much should I expect to ride each day?
Do I need expensive, special bikepacking bags?
What is the single most important skill to learn?
How do I keep my phone and GPS charged?
Final Checklist for Trek Mountain Bikes
Before you head out the door, run through this final checklist to make sure you're ready for a great adventure.
- Your route is planned, checked, and downloaded for offline use.
- Someone knows your detailed plan and when to expect you back.
- Your bike has been safety checked (brakes, gears, tyres, bolts).
- All bags are securely attached and do not interfere with wheels or cables.
- You have packed your repair kit, pump, and a spare inner tube.
- Your navigation tools are fully charged, and you have a backup map.
- You've checked the final weather forecast and packed appropriate clothing.
- Water bottles are full, and you have enough food for at least 24 hours.
- You have your first-aid kit and any personal medication.
- Your helmet is on and your lights are fitted if there's any chance of riding in low light.