Full Suspension Mountain Bikes
A practical step-by-step guide to full suspension mountain bikes, including preparation, instructions, common issues, tips, and next steps.
Full Suspension Mountain Bikes
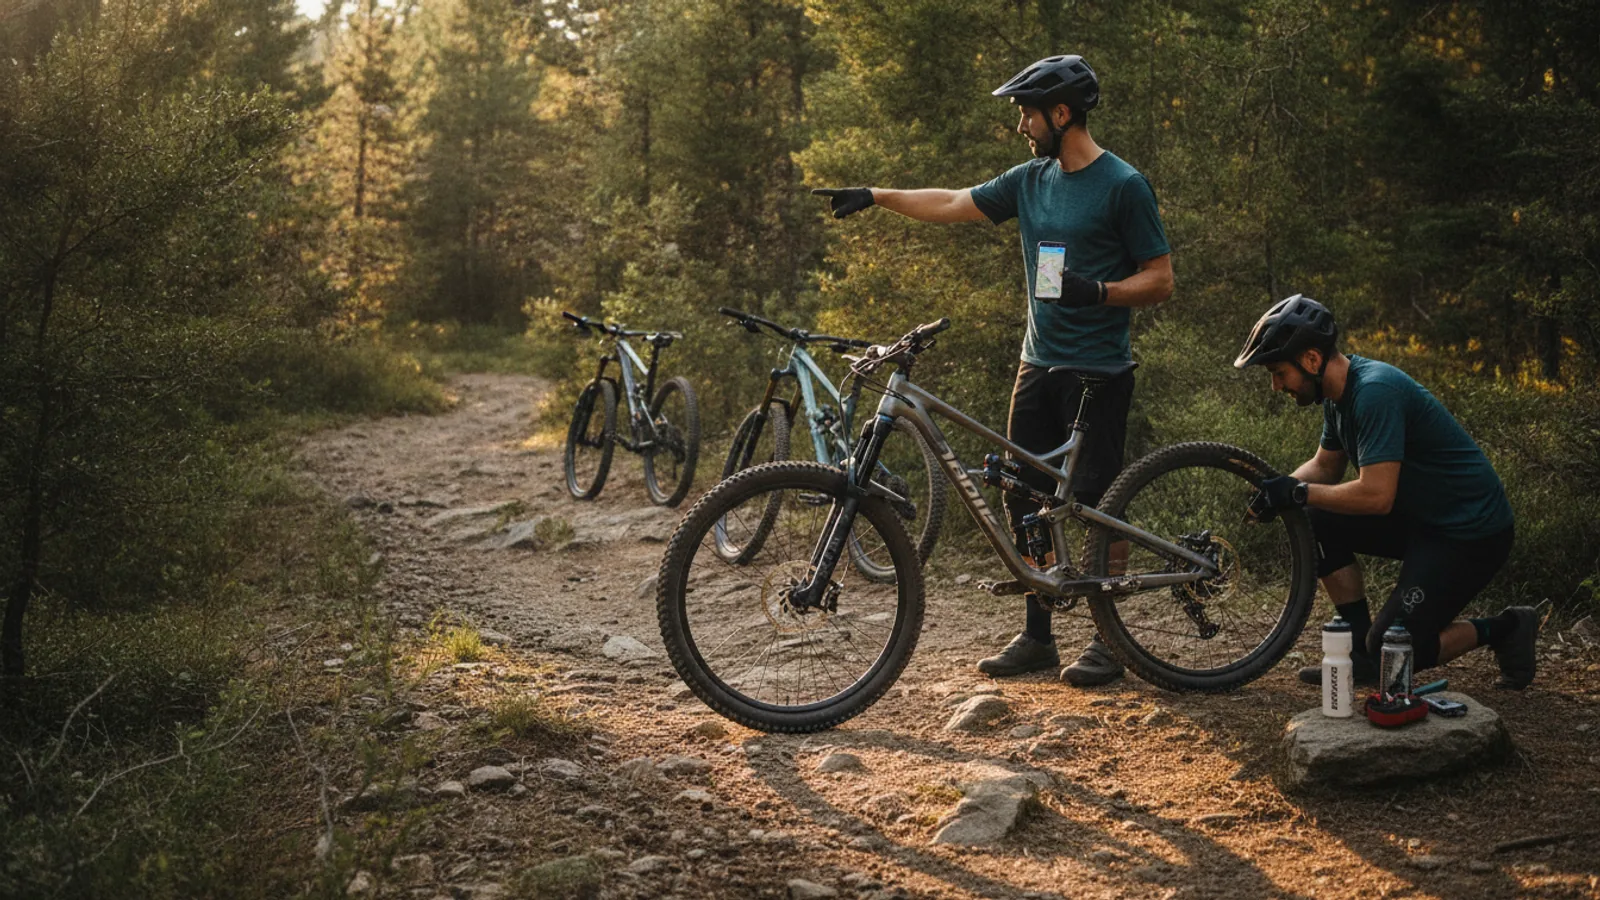
A full suspension mountain bike offers superior comfort and control on rough trails by using suspension on both the front and rear wheels. This guide provides clear, practical steps for understanding the technology, choosing the right bike for your riding style, and performing the essential initial setup. Follow these instructions to demystify suspension travel, frame geometry, and damper settings, ensuring your new bike performs at its best from the very first ride.
Fast Answer
- Key Setup Action: Set suspension sag
- Recommended Sag: 25-30% of total suspension travel
- Main Goal: Match the bike to your body and local trails
- Biggest Mistake: Buying the wrong size or style of bike
Before You Start
Choosing and setting up a full suspension mountain bike is a significant investment in both time and money. Proper preparation ensures you select a bike that enhances your riding experience rather than hindering it. Gather the following information and tools before you begin your search or start adjusting your new bike.
- Define Your Budget: Have a realistic price range in mind, accounting for essential gear like a helmet, shoes, and pedals, which are often sold separately.
- Analyse Your Local Trails: Consider the terrain you ride most often. Is it smooth and flowing, or steep and rocky? This is the single most important factor in choosing a bike.
- Your Body Measurements: Know your height and inseam. While not a substitute for a test ride, these are the starting points for finding the correct frame size.
- Shock Pump: This is a non-negotiable tool for any full suspension bike owner. It's a special high-pressure pump used to adjust the air springs in your fork and rear shock.
- Basic Tools: A set of quality hex keys (Allen keys) and a torque wrench are essential for safe and accurate adjustments to your cockpit and components.
Step-by-Step Instructions
Define Your Riding Style and Suspension Travel
The first step is to be honest about the type of riding you do. Full suspension mountain bikes are categorised by their intended use, which is closely linked to the amount of suspension 'travel' they have (how much the wheels can move up and down). More travel provides more cushioning for big impacts but can be less efficient on climbs.
- Cross-Country (XC): Typically 100-120mm of travel. These bikes prioritise light weight and climbing efficiency for fast, less technical terrain.
- Trail: Typically 120-150mm of travel. This is the most versatile category, designed to be a capable all-rounder that can handle climbs, descents, and varied technical trails effectively. Most riders fit well into this category.
- Enduro / All-Mountain: Typically 150-180mm of travel. These bikes are built for aggressive descending on steep, technical tracks but can still be pedalled back to the top of the hill.
- Downhill (DH): Typically 180-200mm+ of travel. These are highly specialised bikes designed only for lift- or shuttle-assisted descents on the most extreme terrain. They do not climb well.
Choose the category that matches at least 80% of your riding. Buying an Enduro bike for gentle woodland trails will result in a slow, cumbersome experience, just as taking an XC bike down a downhill track can be dangerous.
Understand Key Frame Geometry Numbers
A bike's geometry chart can look like a complex spreadsheet, but a few key numbers tell you most of what you need to know about its handling characteristics. Understanding these will help you compare bikes more effectively than looking at components alone.
- Head Tube Angle: This is the angle of the front fork relative to the ground. A 'slacker' (smaller number, e.g., 64°) angle makes the bike more stable at high speeds and on steep descents. A 'steeper' (larger number, e.g., 67°) angle provides quicker, more responsive steering on climbs and flat terrain.
- Reach: This is the horizontal distance from the centre of the bottom bracket to the centre of the head tube. It's a key indicator of how long the bike will feel when you're standing up on the pedals. Compare reach numbers for bikes of the same size (e.g., 'Large') to understand their relative fit.
- Seat Tube Angle: This is the angle of the seat tube. A 'steeper' (larger number, e.g., 77°) angle places your hips more directly over the pedals, which is a much more efficient and comfortable position for climbing. This is a huge benefit of modern full suspension bikes.
Evaluate Suspension Linkage Designs
The way the rear wheel attaches to the main frame is called the suspension linkage. Different brands use patented designs, but they all aim to control how the suspension behaves during pedalling, braking, and absorbing bumps. While the nuances are complex, it's helpful to know the basics.
Common designs include the Horst Link (Four-Bar), Virtual Pivot Point (VPP), and various Single Pivot evolutions. Instead of becoming an expert, your goal should be to read reviews from reputable sources that describe the characteristics of a specific bike's design. Does it pedal efficiently without excessive movement ('bob')? Does the suspension remain active and smooth under braking? A test ride is the ultimate way to feel the difference.
Choose Your Wheel Size
The debate between wheel sizes has largely settled, leaving riders with excellent options tailored to different priorities.
- 29-inch ("29er"): These larger wheels roll over obstacles more easily and carry momentum better, making them great for speed and technical climbing. They can sometimes feel less nimble in very tight corners.
- 27.5-inch (or "650b"): These smaller wheels are generally more agile, playful, and easier to flick around corners. They accelerate quickly but may not roll over chunky terrain as smoothly as a 29er.
- Mixed ("Mullet" or "MX"): This setup uses a 29-inch wheel at the front for rollover and grip, with a 27.5-inch wheel at the rear for agility and clearance. It's an increasingly popular configuration, especially on Enduro bikes.
Your choice will depend on your riding style and height. Taller riders often gravitate towards 29ers, while shorter riders might prefer the fit of a 27.5-inch bike. The best approach is to test ride different configurations if possible.
Perform an Initial Cockpit Setup
Once you have your bike, the first step is to adjust the contact points to fit your body. This is a basic ergonomic setup you can do at home.
- Saddle Height: With your heel on the pedal at its lowest point, your leg should be almost completely straight. This translates to a slight bend in your knee when you're properly pedalling with the ball of your foot. If you have a dropper seatpost, set this height for its fully extended position.
- Handlebar Roll: Loosen the stem bolts and sit on the bike in your riding position. Roll the handlebars forwards or backwards until your wrists are in a comfortable, neutral position. The 'upsweep' (vertical bend) and 'backsweep' (horizontal bend) of the bars should feel natural.
- Brake Lever Position: Loosen the brake lever clamps. Position them so you can comfortably operate them with your index finger without having to change your grip on the handlebars. Angle them downwards so your wrists are straight from your forearm to your fingers when in your attack position (standing on the pedals).
Set Your Suspension Sag
This is the most important step in setting up a full suspension bike. Sag is the amount the suspension compresses under your static weight. Setting it correctly ensures the suspension can extend into dips as well as compress over bumps. You will need your shock pump and a ruler or tape measure.
- Put on all your regular riding gear (helmet, shoes, backpack with water) to get your accurate riding weight.
- For the rear shock, push the rubber O-ring on the shock's shaft up against the air can's seal. Carefully sit on the bike in your normal riding position without bouncing. Step off the bike gently to avoid compressing the shock further.
- Measure the distance the O-ring has moved. Divide this number by the shock's total stroke length (you can find this on the manufacturer's website). This gives you your sag percentage. For most trail bikes, aim for 25-30% sag.
- If sag is more than 30%, add air with the shock pump. If it's less than 25%, release a small amount of air. Repeat until you hit the target.
- Follow the exact same process for the front fork. The recommended sag is usually a little less, around 15-25%.
Adjust Rebound and Compression Damping
Damping controls the speed at which your suspension compresses and extends. It's what keeps the bike from feeling like an uncontrolled pogo stick.
- Rebound Damping (usually a red dial): This controls how quickly the suspension returns to its full length after a compression. Too fast, and the bike will feel bouncy and unstable. Too slow, and the suspension won't recover in time for the next bump, causing it to 'pack down' and feel harsh.
- Compression Damping (usually a blue dial or lever): This controls how easily the suspension compresses. Many forks and shocks have a lever for 'Open', 'Pedal', and 'Firm'/'Lock' modes. Open is for descending, Pedal adds stability for smoother trails or climbing, and Firm is for roads.
To set a baseline for rebound: Turn the red rebound dial fully to the closed position (slowest, usually clockwise). Then turn it back, counting the clicks. Start about one-third of the way out from fully closed. A good test is to push down hard on the suspension and see how it returns. It should return quickly but stop without bouncing or over-shooting. Adjust one or two clicks at a time until it feels controlled.
Quick Reference
| Situation | Use This Bike Type | Why |
|---|---|---|
| Fast rides on rolling hills and smooth singletrack. | Cross-Country (XC) Bike (100-120mm) | Prioritises light weight and pedalling efficiency for maximum speed on less demanding terrain. |
| All-day adventures on varied terrain with climbs and technical descents. | Trail Bike (120-150mm) | The best all-rounder, balancing climbing ability with confidence and control on rough descents. |
| Riding steep, challenging, and fast downhill tracks, but pedalling to the top. | Enduro Bike (150-180mm) | Offers descending performance close to a DH bike but retains the ability to be pedalled uphill. |
| Lift-assisted bike parks with the largest jumps and most extreme features. | Downhill (DH) Bike (180-200mm+) | Maximum suspension and stability for pure descending. Not designed for pedalling anywhere but a flat road. |
Common Problems When You Set Up Full Suspension Mountain Bikes
- Problem: The suspension feels harsh and doesn't use all its travel.
Solution: Your air pressure is likely too high (not enough sag). Let some air out of the shock/fork in small increments until you reach the 25-30% sag range. Your rebound may also be too slow, causing it to 'pack down'. - Problem: The suspension bottoms out easily with a loud clunk on big hits.
Solution: Your air pressure is too low (too much sag). Add more air with your shock pump. If the sag is correct but you are still bottoming out, you may need to add volume spacers (see Advanced Tips). - Problem: The bike feels bouncy and inefficient when pedalling, especially on climbs.
Solution: This is known as 'pedal bob'. First, check that your rebound isn't set too fast (the 'pogo stick' effect). Second, use the compression lever on your rear shock, moving it to the 'Pedal' or 'Firm' setting for smoother terrain. - Problem: Creaks and noises are coming from the suspension pivots.
Solution: This is common. Often, the pivot bolts just need to be cleaned and torqued to the manufacturer's specification. If this doesn't solve it, the pivot bearings may need servicing or replacement, which is often a job for a bike shop.
Advanced Tips for Full Suspension Mountain Bikes
- Tune Progression with Volume Spacers: Most modern air shocks and forks allow you to add or remove plastic 'volume spacers' inside the air chamber. Adding spacers makes the suspension harder to compress towards the end of its stroke (more 'progressive'), which helps prevent harsh bottom-outs without having to run excessively high air pressure. This is a great tuning option for heavier or more aggressive riders.
- Go Tubeless: If your wheels and tyres are 'tubeless-ready', converting them is one of the best upgrades you can make. It allows you to run lower tyre pressures for vastly improved traction and comfort, and the liquid sealant inside the tyre can fix most small punctures automatically.
- Fine-Tune Tyre Pressure: Don't just inflate your tyres to the maximum pressure listed on the sidewall. Experiment with lower pressures. A few PSI can make a huge difference to grip and ride feel. A starting point for a rider of average weight might be 22-25 PSI in the front and 25-28 PSI in the rear, but this varies with tyre size, terrain, and rider weight.
- Bed In Your Brakes: New disc brakes need to be 'bedded in' to achieve full power. Find a safe, gentle slope and perform 10-15 controlled slow-downs from a moderate speed to a walking pace, without ever coming to a complete stop. This deposits an even layer of pad material onto the rotor.
Full Suspension Mountain Bikes FAQ
Are full suspension mountain bikes harder to maintain?
Yes, they have more moving parts than a hardtail. The extra pivots have bearings that will eventually wear out, and the rear shock requires periodic servicing (typically every 50-100 hours of riding) in addition to the fork. However, modern designs are very reliable, and basic maintenance like keeping the pivots clean and checking bolt torque is straightforward.
Do I need a carbon or aluminium frame?
Aluminium frames offer excellent performance and durability at a lower cost. Carbon frames are lighter and can be engineered for a specific blend of stiffness and compliance (vibration damping), but they come at a significant price premium and can be more susceptible to damage from sharp impacts. For most riders, a high-quality aluminium frame with better components is a smarter investment than a low-end carbon frame.
How much suspension travel do I really need?
This goes back to Step 1. Be realistic about your trails. For most UK trail centres and natural riding, a Trail bike with 130-150mm of travel is the perfect sweet spot. It's capable enough for almost anything but still engaging and efficient on flatter sections. More travel is not always better; it can make a bike feel sluggish and disconnected on easier trails.
What's more important: the frame or the components?
The frame is the heart of the bike. You can always upgrade components like brakes, gears, and wheels over time, but you are stuck with the frame's geometry and suspension kinematics. Always prioritise a high-quality frame that fits you well, even if it means having slightly lower-spec components to begin with.
Final Checklist for Full Suspension Mountain Bikes
Before you hit the trails, run through this final checklist to ensure you've covered the essential setup steps for a safe and enjoyable ride.
- Bike Choice: You've selected a bike category (Trail, Enduro, etc.) that matches your primary riding terrain.
- Frame Size: You have confirmed the bike is the correct size for your height and body proportions.
- Cockpit Setup: Your saddle height, handlebar roll, and brake levers are adjusted for a comfortable and controlled riding position.
- Rear Shock Sag: You have used a shock pump to set the rear sag to 25-30% of its travel with you in full riding gear.
- Fork Sag: You have set the front fork sag to 15-25% of its travel.
- Rebound Damping: Your rebound is set to be controlled, not bouncy. You've established a baseline setting you can fine-tune on the trail.
- Tyre Pressure: Your tyres are inflated to a suitable pressure for your weight and the trail conditions.
- Bolt Check: You have used a torque wrench to confirm that all critical bolts (stem, handlebars, pivot axles) are tightened to the manufacturer's specifications.