Electric Mountain Bike
A practical step-by-step guide to electric mountain bike, including preparation, instructions, common issues, tips, and next steps.
Electric Mountain Bike
This guide provides clear, practical instructions for anyone new to riding an electric mountain bike (e-MTB). We cover everything from essential pre-ride safety checks and understanding assistance modes to mastering climbing and descending techniques. Whether you've just bought your first e-MTB or are renting one for the day, these steps will help you ride safely, manage your battery, and get the most enjoyment out of the extra power.
Fast Answer
- Master Assist Levels: Start in a low mode like 'Eco' or 'Tour' to learn the power delivery and conserve battery. Only use high-power 'Turbo' or 'Boost' modes for very steep or technical climbs.
Before You Start
Riding an electric mountain bike is incredibly fun, but their extra weight and power require a slightly different approach than a traditional bike. Proper preparation ensures your ride is safe, enjoyable, and free from preventable mechanical issues on the trail.
- A fully charged electric mountain bike: Ensure the battery is at 100% before you set off on a long ride.
- Essential safety gear: A quality mountain bike helmet is non-negotiable. Gloves and knee pads are also highly recommended.
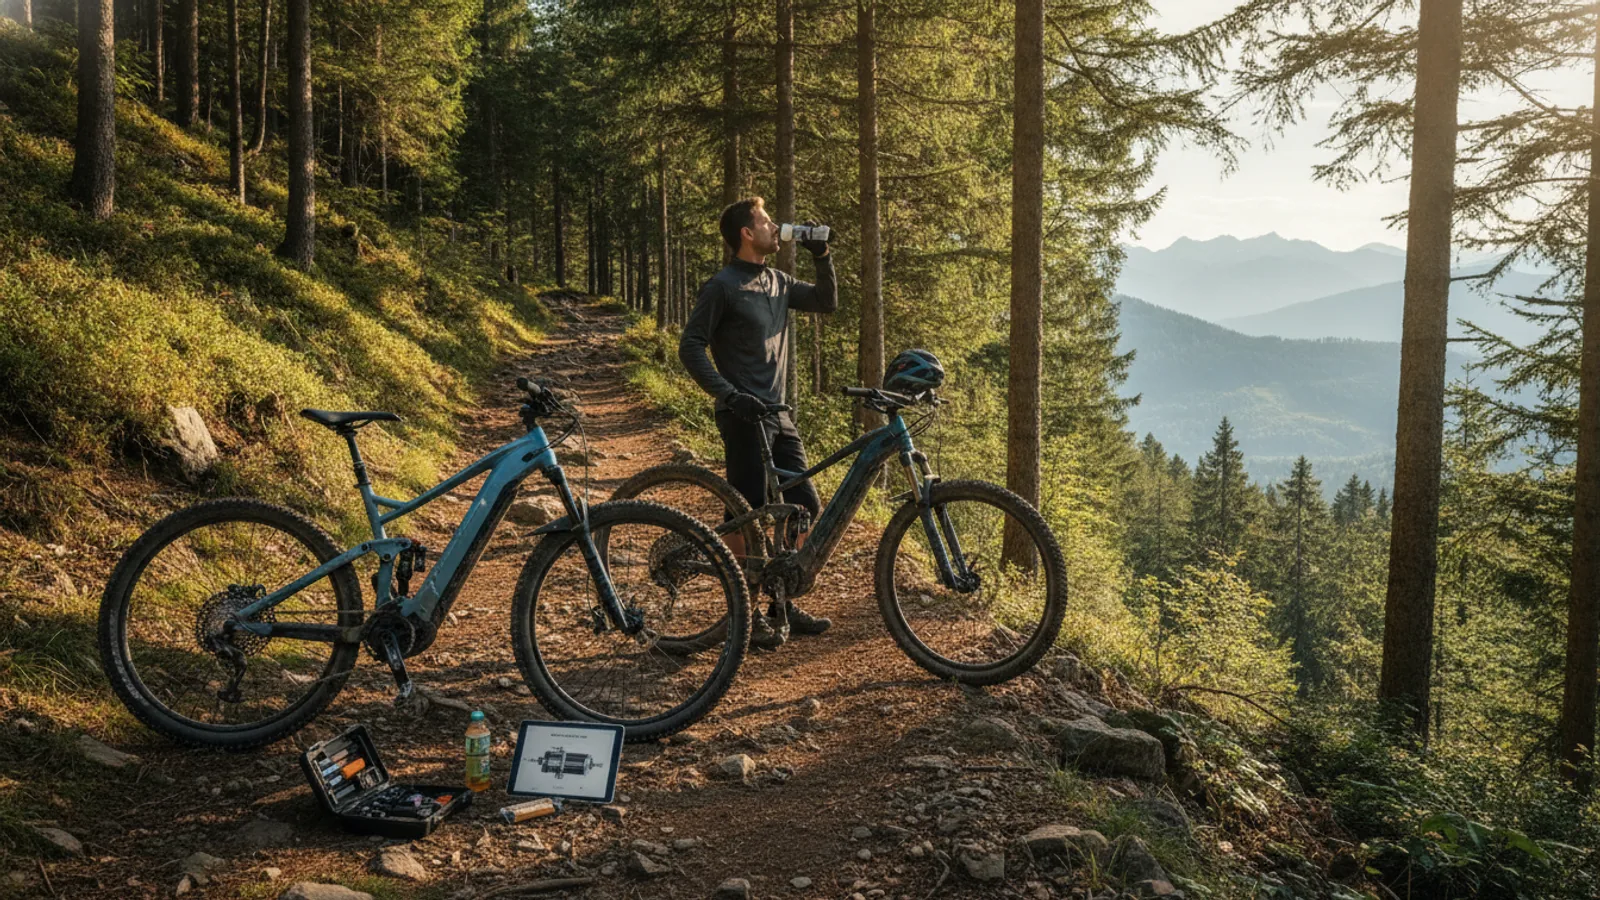
- Basic repair kit: Carry a multi-tool, tyre levers, a spare inner tube that fits your tyres, and a mini-pump or CO2 inflator.
- Hydration and nutrition: A water bottle or hydration pack, plus a snack for longer rides.
- Knowledge of UK e-bike laws: Your bike must be an 'electrically assisted pedal cycle' (EAPC), with motor assistance cutting out at 15.5 mph (25 km/h) to be legal on UK bridleways.
Step-by-Step Instructions
Perform a Pre-Ride Safety Check
Before you hit the trails, spend two minutes performing an 'M-Check' on your bike. This systematic check traces the shape of the letter 'M' over the bike, ensuring all key components are secure and functioning correctly. For an e-MTB, this includes a couple of extra points.
- Rear Wheel: Start at the rear wheel axle. Check that it's tight. Squeeze the tyre to check pressure. Spin the wheel to ensure it runs freely and the brake rotor isn't rubbing.
- Saddle and Frame: Move up to the saddle. Check that it's secure and at the correct height for you. Give the frame a quick visual inspection for any cracks or damage.
- Motor and Cranks: Move down to the bottom bracket area. On an e-MTB, this is where the motor is. Wiggle the crank arms side-to-side to check for any play or looseness. Check that the chain is clean and properly lubricated.
- Handlebars and Front Wheel: Move up to the handlebars. Check that the headset is tight by holding the front brake and rocking the bike back and forth; there should be no knocking sound. Check the handlebars and stem bolts are tight. Finally, check the front wheel axle, tyre pressure, and brake rotor, just as you did for the rear.
- E-Bike System: Turn on the display. Check the battery level and cycle through the assistance modes to ensure the controller buttons are working.
Understand Your Assistance Levels
The core of the e-MTB experience is the motor assistance, controlled via a switch on your handlebar. Understanding how these modes work is key to managing battery life and staying in control. While names vary by brand (Bosch, Shimano, Brose, etc.), the levels are generally similar.
- Off: No motor assistance. The bike will feel very heavy to pedal.
- Eco / Tour: The lowest level of assistance. This gives a gentle push, perfect for flat ground or saving battery. It typically matches about 50-120% of your own power output.
- Trail / Sport: The all-purpose middle setting. It provides a noticeable boost that's ideal for rolling terrain and moderate climbs. This mode is often adaptive, giving more power the harder you pedal.
- Boost / Turbo: The highest level of assistance. This delivers maximum power for tackling the steepest, most difficult climbs. It's exhilarating but will drain your battery the fastest.
- Walk Assist: A button you hold down to make the motor turn the wheel slowly. It's designed to help you push the heavy bike up steep or unrideable sections of trail.
Start your ride in Eco mode. This allows you to get used to the sensation of the motor kicking in without it feeling jerky or overwhelming. Only move to higher modes when you genuinely need the extra help on a climb.
Master Smooth Starting and Stopping
An e-MTB delivers power as soon as you start pedalling, which can catch new riders by surprise. Practice starting and stopping in an open, flat area before tackling any technical trails.
To start smoothly: Select an easy gear first. Position one pedal forward and high (at the 2 o'clock position) ready for a strong first downstroke. As you push down on the pedal, the motor will engage seamlessly. Avoid starting in a high-power mode or a hard gear, as this can cause the bike to lurch forward.
To stop safely: E-MTBs are heavy and carry more momentum. Their brakes are powerful to compensate. Always use both brakes together, applying gentle, steady pressure. Your front brake provides around 70% of your stopping power, but using both prevents either wheel from locking up. As you brake, shift your weight back by moving your hips behind the saddle to maintain balance and traction. Many e-bikes have sensors that cut the motor power as soon as you touch the brakes.
Adapt Your Climbing Technique
Climbing is where an electric mountain bike truly transforms the ride. It's not about making it effortless; it's about making previously impossible climbs possible. Success relies on technique, not just twisting the throttle.
- Stay Seated: Unlike a regular bike where you might stand up, on an e-MTB it's crucial to stay seated for as long as possible during a climb. This keeps your weight over the rear wheel, pressing the tyre into the ground for maximum traction.
- Maintain a High Cadence: E-bike motors work most efficiently when you are spinning the pedals quickly in an easier gear, rather than grinding slowly in a hard gear. Aim for a cadence of 70-90 revolutions per minute. This conserves battery and provides smoother power.
- Anticipate the Terrain: Look ahead. Shift into a lower gear and a higher assistance mode before you hit the steep section, not when you're already struggling. Maintaining momentum is key.
- Manage Your Weight: On very steep sections, you may need to shift your body forward on the saddle and lower your chest towards the handlebars. This prevents the front wheel from lifting while still keeping enough weight on the rear for traction.
Adjust Your Descending and Cornering
The extra weight of an e-MTB (often 8-10 kg more than a non-electric equivalent) fundamentally changes how it handles on descents and in corners. The weight, located low in the frame, makes the bike incredibly stable and planted, but it also requires more physical effort to manoeuvre.
On descents: The bike's momentum will want to carry you forward. Brake earlier and more gradually for corners than you would on a lighter bike. Adopt the "attack position": stand on level pedals, keep your knees and elbows bent and loose, and keep your head up looking far down the trail.
In corners: The bike is harder to tip into a lean. You need to be more deliberate. Focus on pushing the bike down into the turn with your arms and hips while keeping your own body more upright. Look through the corner to where you want to go. The bike's weight and grippy tyres will often provide more traction than you expect, so learn to trust it.
Manage Your Battery Strategically
Battery anxiety is a common concern for new e-bike riders. A few smart habits can dramatically extend your range and ensure you always have enough power to get home.
- Be Conservative with Modes: Your biggest battery drain is the assist level. Use Eco mode as your default. Only switch up to Trail or Turbo for climbs where you really need it. Switch the assistance off entirely on long, fast descents where gravity is doing all the work.
- Spin, Don't Stomp: As mentioned for climbing, a smooth, fast pedalling cadence is much more efficient than grinding a hard gear. Use your gears to keep your legs spinning.
- Check Your Tyre Pressure: Under-inflated tyres create more rolling resistance, forcing the motor to work harder. Check your pressures before each ride.
- Plan Your Route: Know the distance and elevation of your planned ride. Most modern e-bike displays give a "range" estimate. Pay attention to how this number changes when you switch modes, and use it to gauge if you have enough battery for your return journey.
Remember that factors like cold weather, heavy rider weight, and soft trail surfaces can all reduce your maximum range.
Perform Post-Ride Cleaning and Care
A little care after each ride will keep your expensive e-MTB running smoothly and extend the life of its components, particularly the motor and battery.
First, clean the bike. Use a low-pressure hose or a bucket of water and a soft brush. Never use a high-pressure jet wash, especially around the motor, battery contacts, wheel hubs, and suspension pivots, as this can force water past seals and into sensitive electronics and bearings.
After washing, bounce the bike a few times to shake off excess water, then dry it with a microfibre cloth. Pay special attention to the chain. Once the chain is dry, apply a quality chain lubricant while back-pedalling, then wipe off any excess with a rag.
Finally, handle the battery with care. It's best practice to remove it for charging. Check the battery contacts on both the battery and the frame, wiping them clean and dry if necessary. Store and charge the battery indoors at room temperature, as extreme hot or cold can degrade its lifespan. Avoid leaving the battery completely empty for long periods; aim to store it with 30% to 60% charge if you won't be riding for a few weeks.
Quick Reference
| Situation | Use this | Why |
|---|---|---|
| Flat or rolling fire roads | Eco/Tour Mode | Conserves maximum battery for a longer ride and provides a natural feel. |
| Steep, technical climb | Trail/Turbo + Lower Gear | Provides the necessary power to maintain momentum and clear obstacles. |
| Long, fast descent | Assistance Off | Saves battery and allows for natural handling without motor interference. |
| Pushing the bike up a steep hill | Walk Assist Mode | The motor helps push the heavy bike up the slope, saving your energy. |
| Starting on a steep incline | Trail Mode + Easy Gear | Gives enough power to get moving without lurching or spinning the rear wheel. |
Common Problems When You Ride an Electric Mountain Bike
- Problem: Running out of battery far from home.
Solution: This is the biggest fear for new riders. The best fix is prevention: plan your route, be conservative with assist modes, and learn your bike's realistic range. If it does happen, turn the system off to save any remaining power for an emergency push. Then, select the easiest gear and prepare for a tough workout pedalling the heavy bike home. - Problem: The bike feels heavy and clumsy in tight corners.
Solution: This is a technique issue. You need to be more proactive than on a light bike. Brake earlier, look further ahead through the turn, and actively lean the bike—not just your body—into the corner. Practising figure-of-eights in a park can build this skill quickly. - Problem: Losing traction and spinning the rear wheel on climbs.
Solution: This is usually caused by too much power, too suddenly, or incorrect body position. Make sure you are staying seated and keeping your weight on the rear wheel. Apply pedal pressure smoothly instead of in sharp, jerky strokes. If it persists, try a lower assistance mode or let a small amount of air out of your rear tyre for a larger contact patch. - Problem: An error code appears on the display unit.
Solution: Don't panic. The classic IT fix often works: stop safely, turn the bike's system off, wait 10 seconds, and turn it back on again. If the code reappears, consult your bike's manual. It's often a simple sensor issue, like the speed sensor magnet on the wheel spoke being misaligned with the sensor on the frame.
Advanced Tips for Electric Mountain Bike Riding
- Master the 'E-MTB Ratchet': On very technical climbs with large steps or roots, you can use a quick, sharp half-pedal stroke to deliver a burst of power. This "kick" from the motor can help you pop the front wheel up and over an obstacle without losing momentum. It takes practice to time correctly but is a game-changing skill.
- Tune Your Suspension: The extra mass of an e-MTB puts more demand on the suspension. Take time to set your sag correctly (typically 25-30% for the rear shock). You may need to run slightly more air pressure and slower rebound damping than on a non-electric bike to control the bike's weight and prevent it from feeling wallowy or bouncy.
- Optimise Tyre Choice and Pressure: E-MTBs are tough on tyres. Consider using tyres with a stronger casing (like Maxxis EXO+ or DoubleDown) to reduce the risk of punctures from the bike's weight. You may need to run slightly higher tyre pressures (2-4 PSI more than on your regular bike) to provide sidewall support and prevent the tyre from squirming in corners.
Electric Mountain Bike FAQ
How fast can an electric mountain bike go?
In the UK and Europe, an e-MTB must be an EAPC (Electrically Assisted Pedal Cycle). This means the motor is legally required to stop providing assistance at 15.5 mph (25 km/h). You can pedal the bike faster than this, or go faster downhill, but you will be doing so without any help from the motor.
Can I ride my electric mountain bike in the rain?
Yes. E-MTB systems are designed to be highly water-resistant and can be ridden in the rain without issue. However, you should never fully submerge the motor or battery, and you should always avoid using a high-pressure jet wash for cleaning, as it can force water past the seals.
How long does the battery take to charge?
This depends on the battery's capacity (measured in Watt-hours, Wh) and the charger's output. As a general guide, a typical 500-700Wh battery will take approximately 4 to 6 hours to charge from empty to full with a standard charger.
Do I need to be fit to ride an e-MTB?
You will absolutely get a workout! An e-MTB doesn't remove the effort; it multiplies it. You still have to pedal. It allows you to ride further, tackle steeper climbs, or fit more descending into a single session. Many riders find their heart rate is just as high as on a regular bike, but they've covered twice the distance.
Where can I legally ride my e-MTB in the UK?
As long as it meets the EAPC requirements, you can ride your electric mountain bike on any trail where a normal bicycle is permitted. This includes bridleways, byways, and dedicated mountain bike trail centres. It is illegal to ride on public footpaths unless a specific local byelaw permits it. Always respect the local access rules and the countryside code.
Final Checklist for Riding Your Electric Mountain Bike
- Battery is fully charged and securely locked into the frame.
- Tyres are inflated to the correct pressure for your weight and trail conditions.
- Brakes feel firm and are working correctly.
- Quick releases or thru-axles on the wheels are tight.
- Your helmet is on and correctly fastened.
- You have water, a snack, and a basic repair kit.
- You have told someone your route and your expected return time.