How To Remove Bicycle Pedals
A practical step-by-step guide to how to remove bicycle pedals, including preparation, instructions, common issues, tips, and next steps.
How To Remove Bicycle Pedals
This guide explains how to approach how to remove bicycle pedals, including the preparation, practical steps, common mistakes, and final checks that help you finish with confidence.
Before You Start
Before you begin, ensure you have a stable workspace and all the necessary tools within reach. Removing pedals can sometimes require a fair bit of force, so preparation is key to preventing injury or damage to your bike.
Step-by-Step Instructions
Follow these steps carefully to safely remove your bicycle pedals. Remember, patience and proper technique are more important than brute force.
Quick Reference
Common Problems When You Remove Bicycle Pedals
Even with the right knowledge, you might encounter some common hurdles when trying to remove bicycle pedals. Here’s how to address them:
Seized or Stuck Pedals
This is perhaps the most common issue, especially with older bikes or pedals that haven't been removed in years. Corrosion or dirt can cause the threads to seize. Your best friend here is penetrating oil.
Stripped Threads or Rounded Wrench Flats
If the pedal threads are stripped, or the wrench flats on the pedal spindle are rounded off, removal becomes much more difficult. This often happens if the wrong size tool was used, or if the pedal was forced in the wrong direction.
Turning the Wrong Way (Especially for Left Pedal)
This is a classic mistake. Forcing a pedal in the wrong direction will only tighten it further and can damage the threads. Always reconfirm the direction:
If you've been trying to loosen the left pedal anti-clockwise, stop immediately. Apply penetrating oil, take a break, and then try again in the correct clockwise direction with controlled force.
Advanced Tips for How to Remove Bicycle Pedals
Once you've mastered the basics, these advanced tips can make pedal removal even smoother, especially for stubborn cases or for future maintenance.
Use the Crank Arm as a Lever
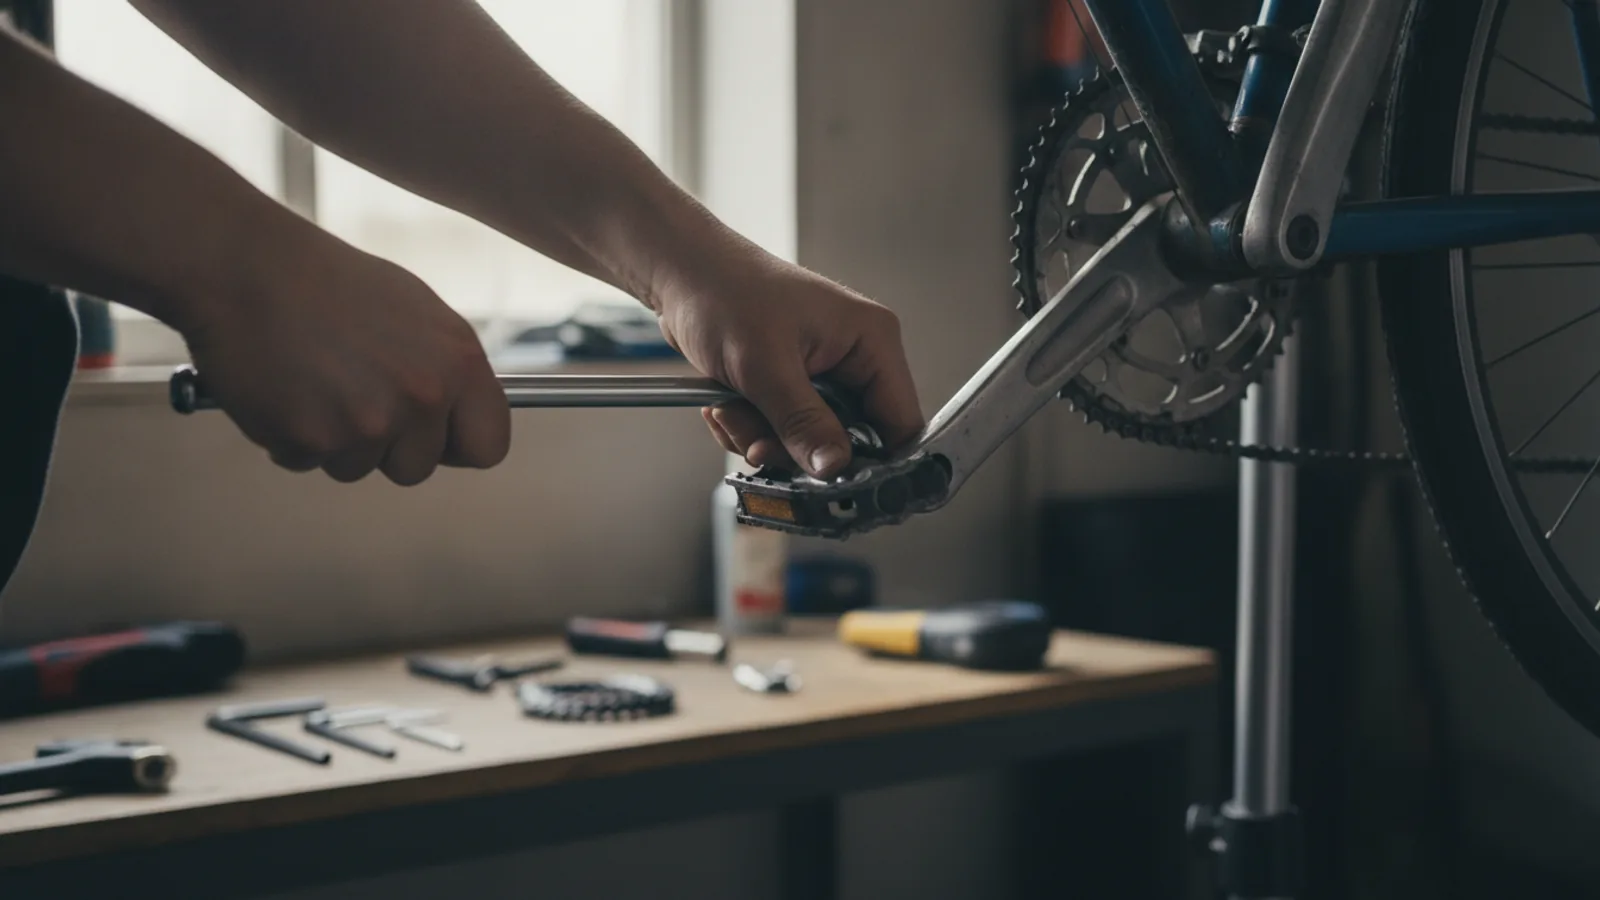
Instead of just pulling on the wrench, you can use the entire crank arm assembly for more leverage. Position the pedal wrench so its handle is roughly parallel to the crank arm. Then, hold the wheel or brace the frame, and push both the crank arm and the wrench simultaneously in the loosening direction. This allows you to apply force with both hands or even use your foot if absolutely necessary (but with extreme caution).
Heat Application (Extreme Cases Only)
For truly seized pedals, careful application of heat can sometimes expand the metal of the crank arm just enough to release the pedal. This should only be done by experienced individuals and with extreme caution.
Anti-Seize Compound for Reinstallation
While the guide mentions grease for reinstallation, using a dedicated anti-seize compound (often containing copper or other metals) offers superior protection against future seizing. It's especially recommended for bikes ridden in wet conditions or with dissimilar metals (e.g., steel pedals in aluminium cranks).
Torque Wrench for Reinstallation
If you're particular about bike maintenance or working with high-end components, using a torque wrench for reinstallation is an advanced practice. Pedals typically have a specified torque range (e.g., 35-40 Nm). This ensures they are tight enough not to loosen during riding but not over-tightened to prevent damage or difficult removal.
How To Remove Bicycle Pedals FAQ
Here are answers to some frequently asked questions about removing bicycle pedals:
Why is my left pedal reverse-threaded?
The left pedal is reverse-threaded (left-hand thread) to prevent it from unscrewing itself while you ride. Due to the way force is applied during pedalling, a standard right-hand thread on the left side would naturally loosen over time. The reverse thread causes the pedalling action to tighten it instead.
Do I need a special pedal wrench?
Many pedals can be removed with an 8mm or 6mm hex key from the inside of the crank arm. However, if your pedals have flat edges on the spindle for a wrench, a dedicated 15mm pedal wrench is highly recommended. Its thin profile allows it to fit into tight spaces, and its longer handle provides better leverage than a standard spanner.
Can I use any old wrench to remove pedals?
While you might be able to get by with a standard 15mm open-end spanner, it's often too thick to fit between the pedal body and the crank arm, and its short handle won't provide enough leverage. A proper pedal wrench is thinner and longer, making the job much easier and safer for your knuckles and bike.
What if my pedals are very tight?
Very tight pedals are a common problem. The key is to use plenty of leverage (a long pedal wrench, or even a cheater pipe over the handle), apply penetrating oil, and ensure you're turning in the correct direction. Positioning the crank arm correctly so you can push down with your body weight also helps significantly. Don't be afraid to apply firm, steady pressure.
How often should I remove and re-grease my pedals?
It's a good practice to remove, clean, and re-grease your pedal threads annually, or every 5,000 miles, especially if you ride in wet or dirty conditions. This helps prevent seizing and makes future removals much easier. If you notice any creaking from your pedals, re-greasing the threads can often solve the issue.
Final Checklist for How To Remove Bicycle Pedals
Before you finish up, run through this quick checklist to ensure everything is done correctly and safely.
By following this guide, you should be able to confidently remove your bicycle pedals and prepare your bike for its next adventure or maintenance task. Happy riding!