How Adjust Bicycle Brakes
A practical step-by-step guide to how adjust bicycle brakes, including preparation, instructions, common issues, tips, and next steps.
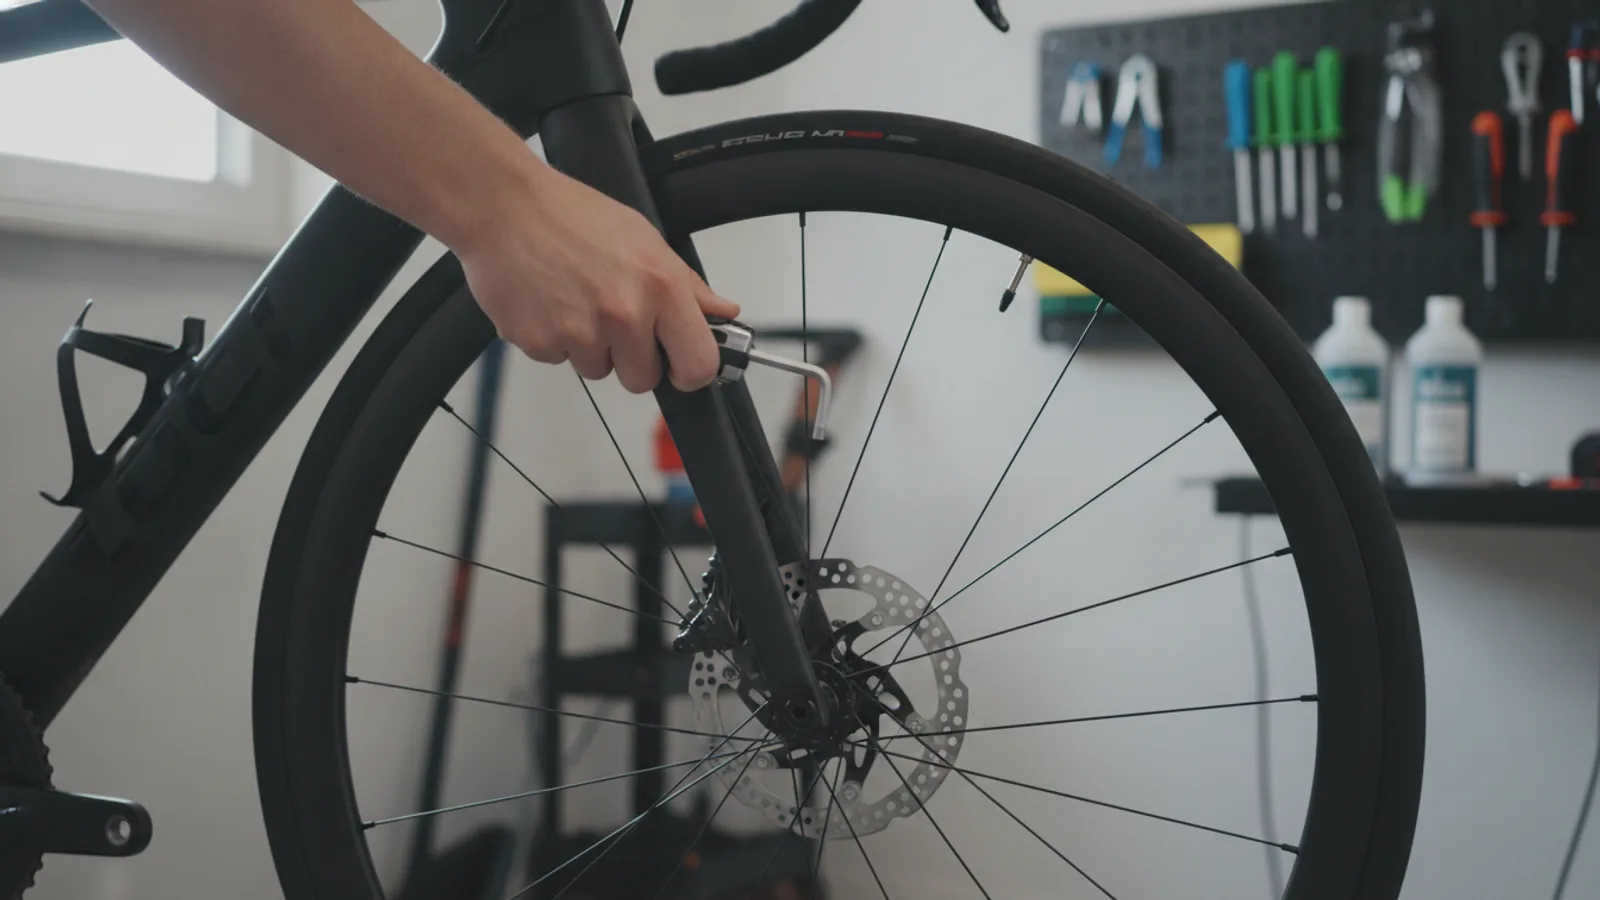
How Adjust Bicycle Brakes
This guide explains how to approach how adjust bicycle brakes, including the preparation, practical steps, common mistakes, and final checks that help you finish with confidence.
Before You Start
Step-by-Step Instructions
Quick Reference
Common Problems When You Adjust Bicycle Brakes
Even with careful adjustments, you might run into a few common issues. Here’s how to troubleshoot them:
Brakes Still Spongy After Adjustment
- Stretched Cable: Cables can stretch over time. If your brakes still feel soft even after tightening the barrel adjuster all the way out, you likely need to re-tension the cable at the anchor bolt as shown in the steps.
- Worn Pads: Check your brake pads for wear. If they're thin or have lost their friction material, they won't provide good stopping power. Replace them as needed.
- Cable Friction: Sometimes, old or corroded cables can stick inside their housings. This creates friction, making the brakes feel inconsistent or spongy. Replacing the inner brake cable and outer housing can resolve this.
Brake Rubbing Won't Go Away
- Wheel Not Seated Correctly: Ensure your wheel is perfectly straight and fully seated in the dropouts (the slots where the wheel attaches to the frame). A crooked wheel will cause constant rubbing.
- Bent Rim (for rim brakes): If your wheel rim is bent or "untrue," the brake pads will rub in certain spots as the wheel spins. This usually requires taking your bike to a shop for wheel truing.
- Bent Rotor (for disc brakes): Disc rotors can get bent from impacts. Even a slight wobble can cause rubbing. You can sometimes gently bend a rotor back into shape with a special tool (or carefully with an adjustable spanner), but it requires a delicate touch. If severely bent, replacement is best.
- Caliper Not Centred: Revisit the centring steps for your specific brake type. This is the most common cause of persistent rubbing.
Brake Lever Too Hard to Pull
- Too Much Cable Tension: If you've tightened the cable too much, the pads might be too close, or even resting on the rim/rotor. Turn the barrel adjuster in (clockwise) to release tension.
- Friction in Cable/Housing: As mentioned, old or dirty cables and housings can increase resistance, making the lever hard to pull.
- Stuck Caliper Pistons (Disc Brakes): For disc brakes, sometimes one or both caliper pistons can get sticky, preventing the pads from moving freely. This is a more advanced issue that might require cleaning or servicing the caliper.
Advanced Tips for How Adjust Bicycle Brakes
Once you’re comfortable with the basics, these tips can help you achieve even better brake performance and maintain your bike:
Lubricate Your Cables and Housing
For rim brakes and mechanical disc brakes, keeping your cables and housings clean and lightly lubricated can significantly improve brake feel and reduce lever effort. Every few months, or if your brakes feel sluggish, you can:
- Disconnect the cable at the anchor bolt.
- Carefully slide the outer cable housing away from the inner cable.
- Apply a small amount of light grease or specific cable lubricant to the exposed inner cable.
- Reassemble and re-adjust your brakes.
This reduces friction and helps the cable slide smoothly.
Check Brake Pad Wear Indicators
Many brake pads, especially rim brake pads, have small grooves or lines that act as wear indicators. Once these lines are no longer visible, or if the pad material is very thin, it’s time to replace the pads. Worn pads drastically reduce braking power and can damage your rims or rotors.
Understand Quick-Release Mechanisms
Most rim brake calipers (and some mechanical disc levers) have a quick-release mechanism. This is a small lever that opens the calipers wider, allowing you to easily remove and install your wheel without deflating your tyre. Make sure this mechanism is always engaged (closed) when riding. If your brakes feel weak, check if the quick-release is in the open position.
When to Consider Professional Help
While basic brake adjustments are DIY-friendly, some issues are best left to a professional bike mechanic:
- Hydraulic Disc Brakes: Adjusting these usually involves bleeding the system, which requires special tools and knowledge.
- Bent Wheels or Rotors: Truing a wheel or straightening a severely bent rotor takes expertise and specific tools.
- Persistent Noise: If your brakes continue to squeal or make grinding noises despite adjustments and cleaning, it could indicate a deeper problem with components or contamination.
- Brake Failure: If you ever experience sudden brake failure or a catastrophic component breakdown, do not ride the bike until it has been inspected and repaired by a professional.
How Adjust Bicycle Brakes FAQ
How often should I adjust my bicycle brakes?
It depends on how much you ride and the conditions. For frequent riders, a quick check every 2-4 weeks is a good idea. For casual riders, every 2-3 months might be sufficient. You should always adjust them if you notice any changes in stopping power, lever feel, or if you hear rubbing.
Can I adjust hydraulic disc brakes myself?
You can often adjust the lever reach on hydraulic disc brakes using a small Allen key, which changes how far the lever sits from the handlebar. However, adjusting the pad contact point, or "bleeding" the brake system (which removes air bubbles to restore firmness), is more complex and usually requires specific tools and a good understanding of the system. For bleeding, it's generally recommended to visit a bike shop.
Why are my brakes squealing?
Brake squealing is a common annoyance. Possible causes include:
- Contamination: Oil, grease, or dirt on the pads, rims, or rotors. Clean thoroughly with rubbing alcohol.
- Misaligned Pads: If pads aren't hitting the rim/rotor squarely. Re-adjust their angle.
- Worn Pads: Pads might be worn down to the backing material.
- Resonance/Vibration: Sometimes, especially with disc brakes, vibrations can cause noise. Caliper centring can help.
- Wet Weather: Brakes often squeal more in wet conditions, which is usually normal.
My quick release lever on my rim brake is open, is that okay?
No, the quick-release lever on your rim brake caliper should always be in the closed position when you are riding. This ensures the brake pads are close enough to the rim to provide effective stopping power. The open position is only for easing wheel removal/installation.
Final Checklist for How Adjust Bicycle Brakes
Before you hit the road after adjusting your brakes, use this checklist to ensure everything is safe and ready:
Brake Levers: Do they feel firm and engage smoothly, stopping well before touching the handlebars?
Pad Clearance: Are the pads evenly spaced from the rim/rotor, generally 1-2mm, without rubbing when the wheel spins freely?
Pad Alignment (Rim Brakes): Do the pads make full contact with the rim's braking surface when applied, without touching the tyre?
Caliper Centring: Is the brake caliper (V-brake, caliper, or disc) centred over the rim or rotor, providing even braking force?
All Bolts Tight: Are all anchor bolts, mounting bolts, and pad bolts securely tightened (but not overtightened)?
Wheel Seated: Is your wheel correctly and securely seated in the frame/fork?
Quick Releases: Are all quick-release levers (on wheels and rim brake calipers) in the closed and secure position?
Test Ride: Have you performed a slow, cautious test ride to confirm proper braking function?
By following these steps and checks, you'll be well on your way to enjoying a safer and more confident ride with perfectly adjusted brakes.