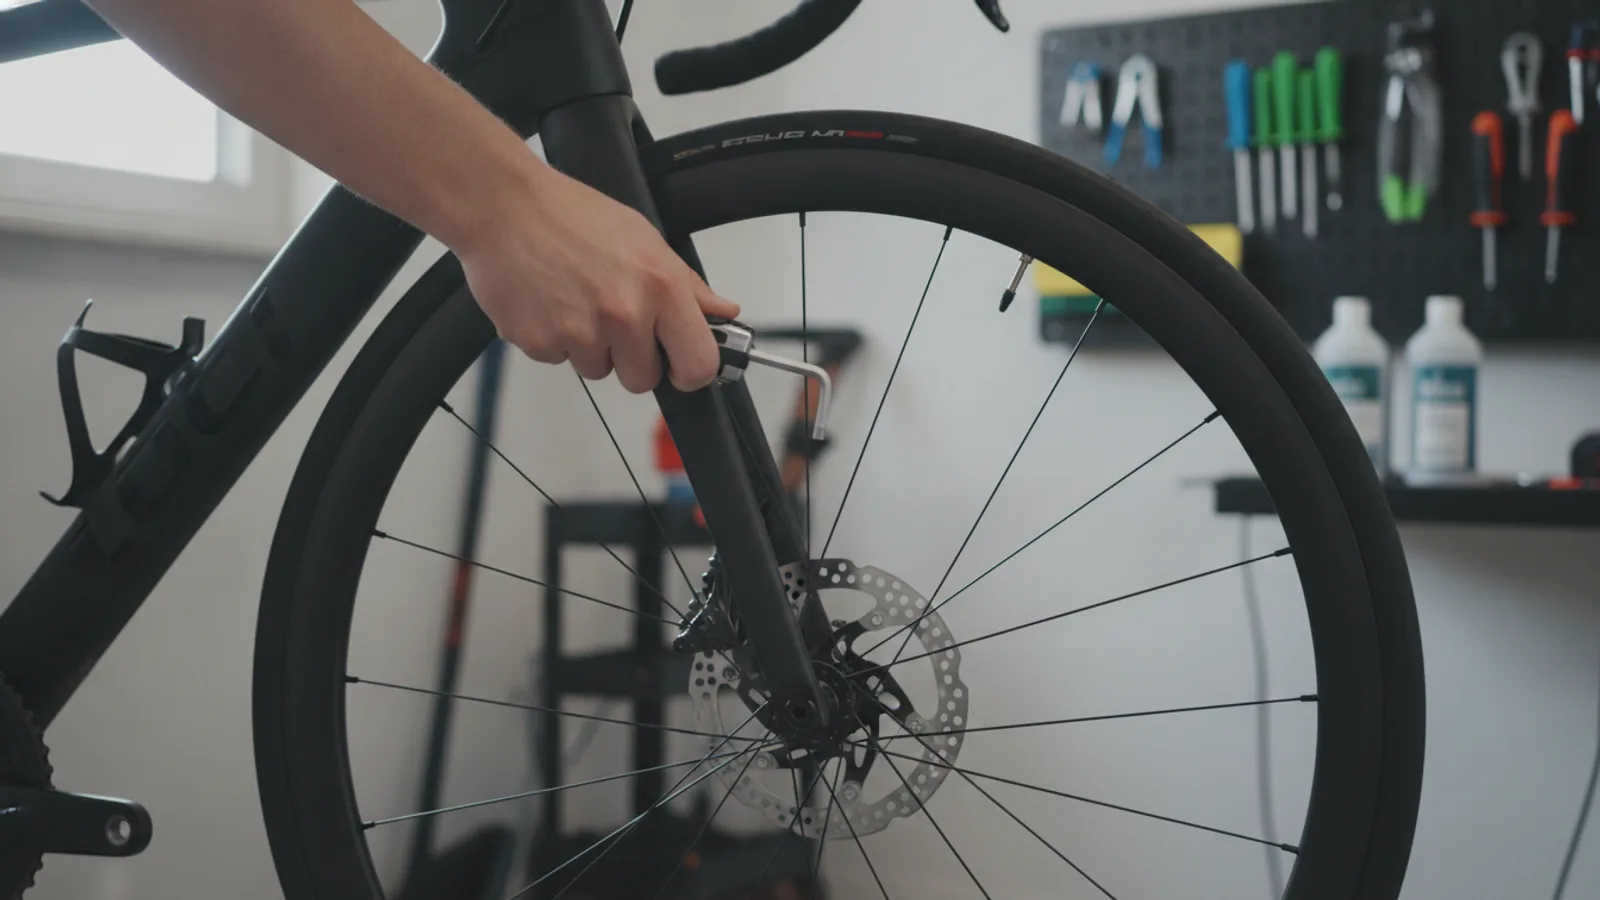
How To Measure A Bike Frame
A practical step-by-step guide to how to measure a bike frame, including preparation, instructions, common issues, tips, and next steps.
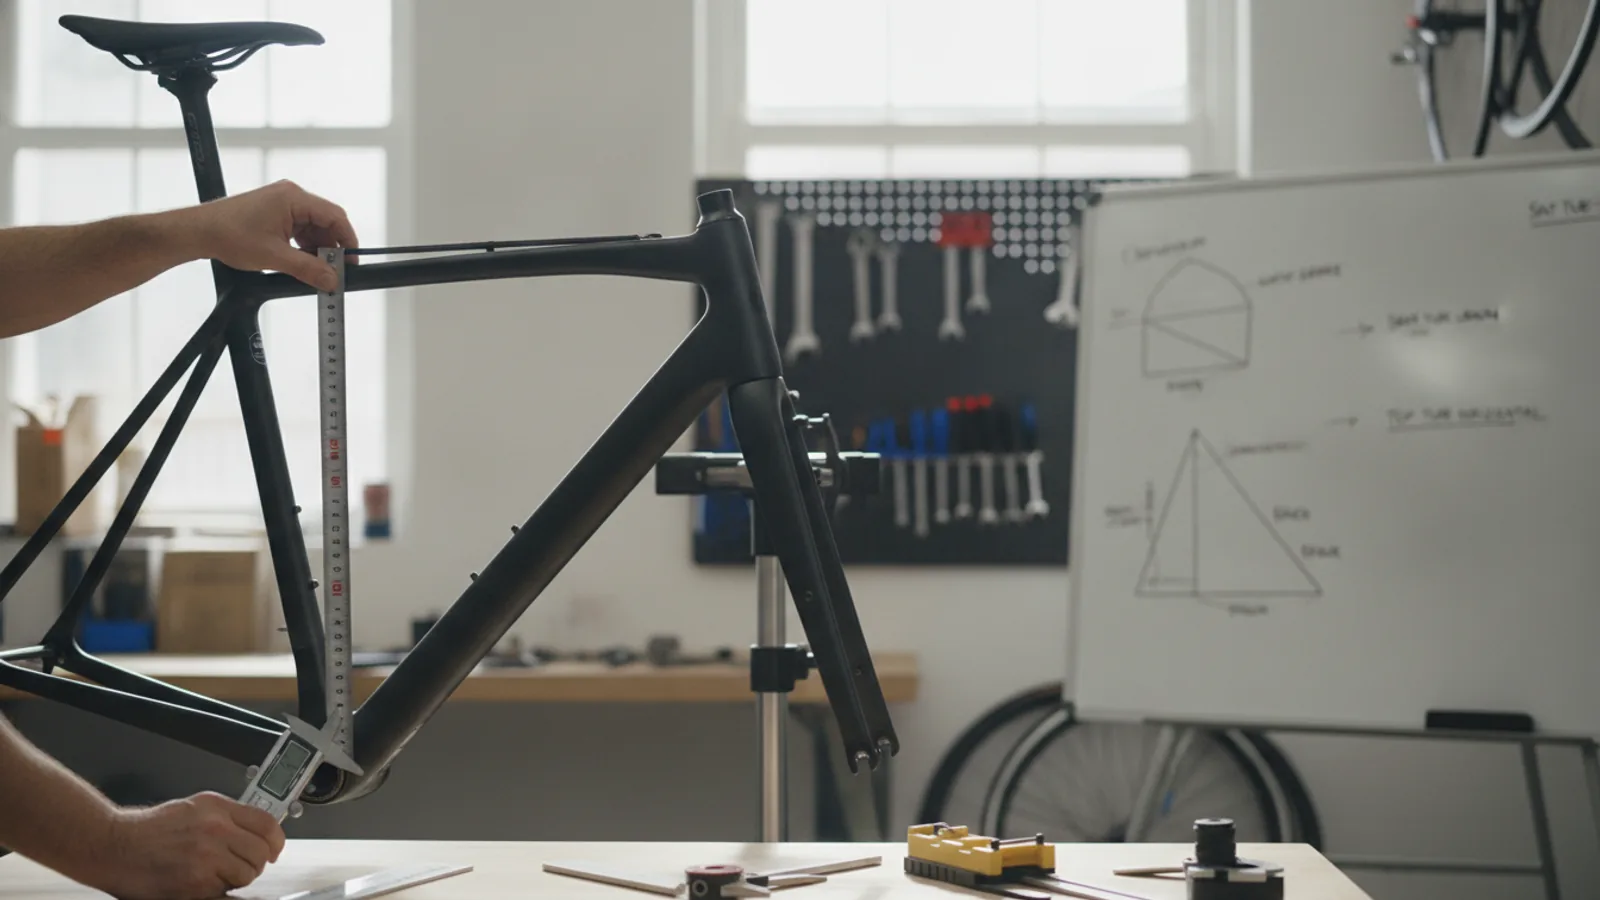
How To Measure A Bike Frame
This guide explains how to approach how to measure a bike frame, including the preparation, practical steps, common mistakes, and final checks that help you finish with confidence.
Before You Start
Step-by-Step Instructions
Quick Reference
Common Problems When You Measure A Bike Frame
Even with careful attention, it's easy to make small mistakes when measuring a bike frame. Knowing the most common pitfalls can help you avoid them and ensure your measurements are accurate.
Inconsistent Starting or Ending Points
The most frequent error is not being precise about where you begin and end your measurement. For example, you might measure the seat tube from the crank arm bolt instead of the true centre of the bottom bracket spindle, or to the seat clamp instead of the very top edge of the seat tube itself. This inconsistency can lead to measurements that are off by several millimetres or even centimetres, making comparisons difficult.
Fix: Always use clear, fixed points as your reference. For the bottom bracket, aim for the absolute centre of the spindle. For tube ends, measure to the true edge or the centre of a tube junction. When in doubt, consult a manufacturer's geometry diagram for the exact reference points they use.
Confusion Between C-C and C-T Standards
Many people mix up "centre-to-centre" (C-C) and "centre-to-top" (C-T) when measuring the seat tube. This can result in a significant difference in measurement, especially on frames with sloping top tubes, and can dramatically impact your understanding of a bike's size.
Fix: Understand the precise definition of each before you begin. C-C is from the bottom bracket centre to the centre of the top tube junction. C-T is from the bottom bracket centre to the very top edge of the seat tube. Always specify which standard you used when recording your measurements.
Incorrect Effective Top Tube Measurement
Getting an accurate horizontal effective top tube measurement without a spirit level or straight edge can be tricky. It's common for people to accidentally measure the actual (sloping) top tube instead of the horizontal effective length, leading to an incorrect assessment of the bike's reach.
Fix: Always use a **spirit level** or a long, straight edge (like a ruler or a piece of wood) to ensure your measurement is truly horizontal from the top of the head tube to the imaginary vertical line above the seat post. This is the only way to get a reliable effective top tube measurement.
Using a Flexible Tape Measure
A cloth or flexible metal tape measure can bend, stretch, or sag, leading to inaccurate readings, especially over longer distances such as the wheelbase or top tube. Even a slight curve can skew your results.
Fix: Always use a **rigid metal tape measure**. This ensures a straight, true line for all your measurements, significantly reducing potential errors and giving you more reliable figures.
Not Considering Tyre Size for Standover
The standover height of a bike is directly influenced by the diameter and inflation of its tyres. If your tyres are underinflated or you swap to significantly different sized tyres, your standover clearance will change.
Fix: Ensure your tyres are inflated to their usual riding pressure when measuring standover height. If you frequently change tyre sizes, remember to re-check this measurement with the new tyres to ensure continued comfort and safety.
Advanced Tips for Measuring a Bike Frame
Once you're comfortable with the basic measurements, you can delve into more advanced techniques and concepts that offer a deeper understanding of bike fit and geometry.
Measuring Stack and Reach
Stack and reach are two advanced measurements increasingly used by manufacturers, especially for performance-oriented bikes. They provide a precise understanding of the frame's vertical and horizontal dimensions relative to the bottom bracket, independent of seat tube angle or head tube length.
To measure these accurately yourself, you'll need a large, flat wall, a plumb bob (a weight on a string for vertical lines), and a spirit level. It involves projecting vertical lines from the bottom bracket and head tube, and a horizontal line from the bottom bracket, then measuring the distances between these points. This can be complex and is often best done by an experienced bike mechanic or using specialised frame-measuring tools.
Using Digital Tools for Greater Precision
While a standard tape measure is sufficient for most needs, digital tools can offer enhanced precision:
These tools can reduce human error and provide readings down to the millimetre or even a fraction of a degree.
Consulting Geometry Charts
Always cross-reference your physical measurements with the manufacturer's official geometry charts for the specific model and year of your bike. These charts are the definitive source for a frame's dimensions. They provide not just length measurements but also critical angles (head tube angle, seat tube angle, fork rake/offset), which are crucial for understanding how a bike will handle and feel. Pay close attention to how the manufacturer defines each measurement (e.g., C-C, C-T, effective).
Frame Alignment Check
Before taking any measurements, a quick visual inspection for frame alignment can be beneficial. A bent or damaged frame can skew all your measurements. Look for obvious signs of asymmetry, such as one wheel not being perfectly centred in the frame, or tubes that appear warped. You can also visually check the main frame triangles to ensure they look symmetrical and straight. If anything seems off, it's best to have the frame professionally checked before relying on your measurements.
Considering Frame Material and Build
Different frame materials and construction methods can sometimes influence how measurements are traditionally taken or interpreted. For instance, older steel frames with lugged construction were often measured C-C, while modern aluminium and carbon frames commonly use C-T for seat tube length. Be aware that welding points, carbon layup, and material thickness can subtly affect where the 'true' measurement point lies, so always refer to manufacturer guidelines when available.
How To Measure A Bike Frame FAQ
Final Checklist for How to Measure A Bike Frame
Before you consider your bike frame measurements complete, run through this quick checklist to ensure accuracy and completeness:
FAQ
What should I check before I start?
Check the goal, the key prerequisite, and any current instructions that could change the safest next step for how to measure a bike frame.
How can I tell whether the result is working?
Use the practical checks in the guide, pause if a required step is unclear, and verify the finished result against the intended outcome.