How To Change Bike Pedals
A practical step-by-step guide to how to change bike pedals, including preparation, instructions, common issues, tips, and next steps.
How To Change Bike Pedals
This guide explains how to approach how to change bike pedals, including the preparation, practical steps, common mistakes, and final checks that help you finish with confidence.
Before You Start
Before you begin, gather all necessary items and ensure your bike is in a stable position. A work stand makes the job easier, but you can also lean your bike securely against a wall or have a friend hold it.
Step-by-Step Instructions
Quick Reference
Common Problems When You Change Bike Pedals
Even with careful instructions, you might run into a few common issues. Knowing what these are and how to fix them can save you time and frustration.
Stuck Pedals
One of the most frequent problems is trying to remove pedals that have been on the bike for a very long time, especially without proper grease. They can seize to the crank arm. If your pedal won't budge:
- Apply penetrating oil: Spray a little penetrating oil (like WD-40 or a specific bike-grade penetrant) where the pedal spindle meets the crank arm. Let it sit for 10 to 15 minutes to work its way into the threads.
- Increase leverage: If using a standard pedal wrench, try sliding a metal pipe over the handle to extend it. This gives you more leverage. If using an Allen key, choose one with a longer arm.
- Crank position: Ensure the crank arm is positioned forward and horizontal. You can then stand on the wrench (briefly and carefully) or push down with significant body weight while bracing the opposite side of the bike.
Cross-threading
Cross-threading happens when the pedal isn't screwed in straight, and the threads on the pedal and crank arm don't align correctly. This can strip the soft aluminium threads of your crank arm, making it impossible to install a pedal properly.
- Always start by hand: This is the best defence against cross-threading. If the pedal doesn't turn easily and smoothly by hand for at least a few rotations, it's probably not aligned.
- Stop immediately: If you feel resistance or hear grinding, stop turning the wrench. Unscrew the pedal completely, clean the threads again, realign it, and try to start threading by hand once more.
- Inspect threads: If you've forced it, inspect both the pedal and crank arm threads for damage. Minor damage might allow another attempt, but significant damage might require professional help or replacement of the crank arm.
Pedal Loosens During Riding
This is usually a sign that the pedal wasn't tightened enough or, less commonly, that you accidentally put the left pedal on the right side (or vice-versa) leading to the pedal unscrewing itself as you ride.
- Retighten: Get your wrench and tighten both pedals firmly. Remember the correct tightening directions: clockwise for the right, anti-clockwise for the left.
- Check pedal markings: Double-check that you installed the "L" pedal on the left crank arm and the "R" pedal on the right crank arm. If they are swapped, correct the installation immediately.
Damaged Crank Arm Threads
In severe cases of cross-threading or forcing a seized pedal, the threads inside the crank arm can become damaged. This is a serious issue as pedals will no longer hold securely.
- Professional assessment: If threads are badly damaged, take your bike to a reputable bike shop. Sometimes, they can re-tap the threads with a slightly larger size, but often, the crank arm needs to be replaced.
- Prevention is key: This problem highlights the importance of always using grease and being careful during installation.
Advanced Tips for How to Change Bike Pedals
Once you're comfortable with the basics, these tips can help you refine your pedal changing skills and maintain your bike even better.
Use a Torque Wrench for Precision
While hand-tightening with a standard wrench is usually sufficient, a torque wrench provides precise control. Pedal manufacturers often specify a torque setting (e.g., 35-40 Nm) for their pedals. Using a torque wrench ensures you tighten them to the exact specification, preventing both overtightening (which can damage crank arms or pedals) and undertightening (which can lead to creaks or loosening).
- Look for the torque specification on your new pedals or in their instruction manual.
- A torque wrench typically costs more than a standard wrench but is a valuable tool for serious home mechanics.
Consider Different Pedal Types
Changing pedals is a great opportunity to explore different riding styles:
- Flat Pedals: Offer a large platform for comfort and easy foot placement, ideal for commuting, casual riding, or mountain biking where you might need to quickly put a foot down.
- Clipless Pedals: (despite the name, you "clip in" to them) use a cleat on your shoe to connect to the pedal, offering improved pedalling efficiency and control. Common types include SPD (mountain bike, walkable shoes), Look Keo (road bike), and SPD-SL (road bike).
- Platform Pedals with Straps: Offer a hybrid solution, allowing you to secure your feet for some efficiency without fully committing to clipless systems.
Always ensure your chosen pedals are compatible with your shoes and riding style.
Regular Maintenance for Longevity
Don't wait until your pedals seize to remove them. Make it a habit to:
- Remove and re-grease yearly: If you ride frequently, remove your pedals, clean the threads, and apply fresh grease once a year. This prevents them from seizing and makes future changes much easier.
- Inspect bearings: While your pedals are off, check the pedal bearings for any roughness or play. If they feel gritty or loose, the pedal bearings might need servicing or the pedals replaced.
Dealing with Carbon Crank Arms
If your bike has carbon fibre crank arms, exercise extra caution. Carbon is strong but can be brittle if mishandled or overtightened. Always use a torque wrench when installing pedals into carbon crank arms and adhere strictly to the manufacturer's specified torque settings. Overtightening can cause irreparable damage to the carbon, which can be very expensive to replace.
How To Change Bike Pedals FAQ
Why is the left pedal reverse-threaded?
The left pedal is reverse-threaded (left-hand thread) to prevent it from unscrewing itself while you ride. Due to the way pedalling forces are applied, if both pedals had standard (right-hand) threads, the left pedal would naturally tend to loosen over time. The reverse thread causes the pedalling motion to actually tighten the left pedal, ensuring it stays securely attached.
Do I need a special pedal wrench?
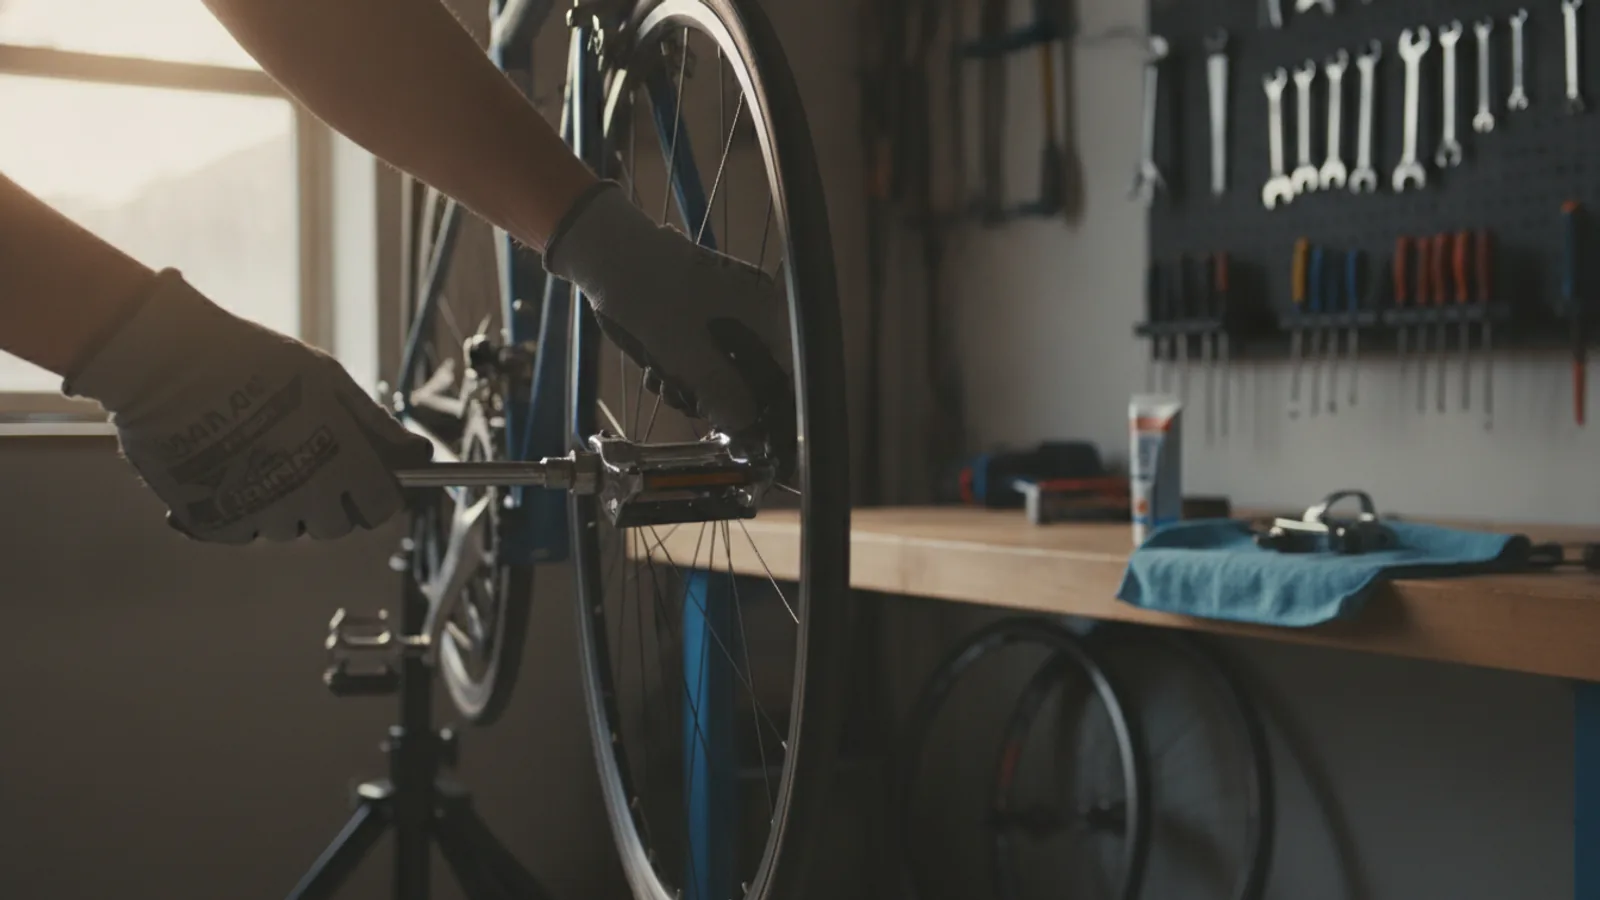
For most older or traditional pedals, a thin 15mm pedal wrench is ideal. Its thin profile allows it to fit between the pedal body and the crank arm where a thicker spanner might not. However, many modern pedals, especially clipless ones, use a 6mm or 8mm Allen key that is inserted into the end of the pedal spindle from the back of the crank arm. Check your new pedals to confirm which tool you'll need.
Is bicycle grease really necessary?
Yes, absolutely. Applying a good quality bicycle grease to the pedal threads before installation is crucial. It serves several important purposes: it prevents corrosion and seizing between the metal pedal spindle and the aluminium crank arm (a common problem), makes future pedal removal much easier, and can help prevent creaking noises while riding. Never install pedals dry.
How tight should bike pedals be?
Pedals need to be tight enough not to come loose during riding, but not so tight that they damage the threads or make future removal impossible. A good rule of thumb is "firmly snug." If you have a torque wrench, follow the manufacturer's specification, which is typically around 35-40 Newton-metres (Nm). Without a torque wrench, use your pedal wrench to hand-tighten firmly until you feel significant resistance, without excessively straining.
Final Checklist for How to Change Bike Pedals
Before you roll out for your next ride, run through this quick checklist to ensure everything is perfect.
- Right pedal: Is the "R" pedal installed on the drive side (right)? Is it tightened clockwise?
- Left pedal: Is the "L" pedal installed on the non-drive side (left)? Is it tightened anti-clockwise?
- Grease applied: Did you apply a generous amount of bicycle grease to the threads of both new pedals before installation?
- Secure and snug: Are both pedals firmly tightened and do they feel secure without any wobble or play?
- Clean up: Have you wiped away any excess grease from the crank arms and pedals?
- Test ride: Have you taken a short test ride to check for creaks, wobbles, or looseness?
- Tools put away: Are all your tools stored safely?