Bike Fitting Guide For Road Cycling
A practical step-by-step guide to bike fitting guide for road cycling, including preparation, instructions, common issues, tips, and next steps.
Bike Fitting Guide For Road Cycling
A proper bike fit is the single most important upgrade you can make for your road cycling. It boosts comfort, prevents common injuries, and improves power output, making every ride more enjoyable. This guide walks you through the fundamental steps of a DIY bike fit you can perform at home. While it provides a solid foundation for most recreational riders, consider a professional bike fitting service if you are a competitive cyclist, ride very long distances, or experience persistent pain.
Fast Answer
- Saddle Height: Adjust so your knee has a 25-35 degree bend at the bottom of the pedal stroke.
- Saddle Fore/Aft: Position your saddle so a plumb line from your forward kneecap drops through the pedal axle.
- Handlebar Reach: Aim for a slight bend in your elbows and a 90-degree angle between your torso and upper arms.
- Cleat Position: Align the ball of your foot over the centre of the pedal axle for efficient power transfer.
Before You Start
- Indoor Turbo Trainer: Essential for keeping the bike stable and level while you make adjustments and test the fit.
- Hex/Allen Keys: A good quality multi-tool will have all the sizes you need for your seatpost, saddle clamp, and stem bolts.
- Torque Wrench: Crucial for safely tightening bolts to the manufacturer's specification, especially on carbon fibre parts.
- Tape Measure: For taking baseline measurements and tracking changes.
- Plumb Line: A piece of string with a weight on the end is perfect for checking your knee-over-pedal-spindle position. A laser level also works well.
- Smartphone with Tripod: Recording yourself from the side allows you to pause the video and accurately check angles and posture. A helpful friend can also do this.
- Cycling Kit: Wear the padded shorts and cycling shoes you ride in most often for an accurate fit.
Step-by-Step Instructions
Set Your Saddle Height
Saddle height is the cornerstone of a good bike fit. It has the biggest impact on power, comfort, and knee health. The goal is to achieve a position that allows for powerful extension of the leg without over-reaching at the bottom of the pedal stroke.
A simple starting point is the "heel-on-pedal" method. While wearing your cycling shoes, sit on the saddle and place your heel on the pedal. Cycle the crank backwards until it is at the 6 o'clock position (straight down). In this position, your leg should be completely straight, without you having to rock your hips to reach. If your knee is bent, raise the saddle. If you have to reach, lower it.
For a more precise measurement, aim for a knee bend of 25 to 35 degrees at the bottom of the pedal stroke. With your foot properly clipped in, have a friend measure this angle with a goniometer, or film yourself from the side and use an angle-measuring app on the video. Make adjustments in small increments of 2-3mm, then pedal for a few minutes to assess the feel before changing it again.
Adjust Saddle Fore-and-Aft Position
This adjustment determines how your body weight is balanced between the saddle and handlebars, and it's critical for protecting your knees. The standard method is known as KOPS (Knee Over Pedal Spindle).
With your bike level on the trainer, clip into the pedals and bring the cranks to a horizontal position (3 o'clock and 9 o'clock). Let a plumb line hang from the front of your forward kneecap. Specifically, you want the line to drop from the tibial tuberosity, which is the bony bump just below your kneecap.
The plumb line should hang so that the string bisects the centre of the pedal axle. If the line falls in front of the axle, your saddle is too far forward. If it falls behind the axle, your saddle is too far back. To adjust, loosen the bolts on your saddle clamp (usually one or two bolts under the saddle), slide the saddle along its rails, and retighten to the correct torque. Re-check the KOPS position after adjusting.
Check Saddle Tilt
The starting point for saddle tilt should always be perfectly level. Use a spirit level (or a smartphone app) placed across the top of the saddle from nose to tail. A level saddle provides a stable platform and supports your weight through your sit bones.
If you experience soft tissue pressure with a level saddle, you can try tilting the nose down by a very small amount, typically just 1 or 2 degrees. This can relieve pressure for some riders. However, be cautious: too much downward tilt will cause you to slide forward, placing excessive weight on your hands, wrists, and shoulders, which can lead to numbness and pain. Conversely, an upward tilt can cause pressure and is rarely recommended.
Position Your Cleats
For riders using clipless pedals, correct cleat position is vital for efficient power transfer and preventing knee injuries. The goal is to position the cleat so the ball of your foot is directly over the pedal axle (or spindle).
To find the ball of your foot, sit down and, with your shoe on, press along the side of your foot to find the two prominent bony lumps: the first metatarsal head (on the inside, behind the big toe) and the fifth metatarsal head (on the outside, behind the little toe). Mark these two spots on your shoe with a pen. The ideal position for the pedal axle is between these two marks.
Adjust the cleat's fore-aft position on the sole of the shoe to achieve this alignment. Next, adjust the rotational angle. Your foot should be able to rest in its natural position when clipped in. Don't force your heels in or out. A small amount of "float" (rotational movement) built into most pedal systems allows for natural movement, but the baseline position should feel neutral and comfortable.
Determine Handlebar Reach and Drop
Handlebar position affects your comfort, control, and aerodynamics. Reach is the horizontal distance from your saddle to your handlebars, while Drop is the vertical distance between the height of your saddle and handlebars.
When resting your hands on the brake hoods, you should have a comfortable, slight bend in your elbows. Your arms and torso should form approximately a 90-degree angle. If you feel overstretched, your reach is too long. If you feel cramped, it's too short. Adjusting reach usually requires swapping the stem for a shorter or longer one (a component change).
Handlebar drop is adjusted by moving the headset spacers from above the stem to below it (to raise the bars) or vice versa (to lower them). Beginners or riders with less flexibility should start with a smaller drop (higher handlebars) for comfort. As your flexibility and core strength improve, you can lower the bars for a more aerodynamic position. Make changes one spacer at a time.
Set Handlebar Width and Rotation
Most bikes come with handlebars that are appropriately sized for the frame, but it's worth checking. As a general rule, your handlebar width should be about the same as the width of your shoulders. You can measure the distance between the bony protrusions on the top of your shoulders (the AC joints) to get an idea.
Handlebar rotation influences your wrist angle. When viewed from the side, the bottom, flat section of the drops should point towards your rear brake caliper or slightly lower. When your hands are on the hoods, your wrists should be in a relatively straight, neutral position, not bent up or down at an awkward angle. To adjust, loosen the stem's faceplate bolts, rotate the bar, and retighten the bolts evenly in a cross pattern to the correct torque.
Position Brake and Shifter Levers
The position of your brake and shift levers on the handlebars is a fine-tuning adjustment that makes a big difference to comfort and control. The top of the brake hood should form a smooth, flat transition from the top of the handlebar.
When you are riding on the hoods, you should be able to comfortably reach and operate the brake and shift levers without changing your hand position or straining your wrists. If you have to reach down or bend your wrist sharply, the levers need adjusting. Loosen the clamp bolt (usually a hex bolt hidden under the rubber hood) and rotate the entire lever assembly around the bar until it feels like a natural extension of your arm. Ensure both levers are symmetrical.
Test and Refine Incrementally
A bike fit is not a one-time setup; it's an iterative process. After making your initial adjustments based on these steps, the most important part is to test them. Get on the trainer and pedal for 15-20 minutes at a moderate intensity. Pay close attention to how your body feels. Notice any new aches, pains, numbness, or points of pressure.
Make only one small adjustment at a time, then test it again. It can take several short rides to dial in your position. Once it feels good on the trainer, take it out for a proper ride on familiar roads. Remember to give your body time to adapt to a new position, as muscles that were underused may now be more engaged. If you feel any sharp or persistent pain, revert the last change you made and re-evaluate.
Common Problems & Solutions
| Symptom | Likely Cause & Adjustment | Why it Helps |
|---|---|---|
| Numb Hands or Wrists | Too much weight on hands. Raise handlebars, check saddle is not tilted down, or move saddle slightly back. | This redistributes your body weight rearward, taking pressure off your hands, wrists, and shoulders. |
| Pain in Front of Knee | Saddle is likely too low or too far forward. Raise saddle in 2-3mm increments or move it rearward. | This opens the knee angle at the point of maximum force, reducing stress on the patellar tendon and quadriceps. |
| Pain in Back of Knee | Saddle is likely too high or too far back. Lower saddle in 2-3mm increments. | This prevents over-extension of the hamstrings and calf muscles as you reach for the bottom of the pedal stroke. |
| Lower Back Pain | Saddle too high, handlebar drop too large, or poor core strength. Try lowering the saddle slightly or raising the handlebars. | Reduces the amount of hamstring and lower back extension required, creating a less aggressive and more sustainable posture. |
| Neck and Shoulder Ache | Handlebar reach is too long or the drop is too great. Try a shorter stem or raise the handlebars by moving spacers. | This shortens the cockpit, preventing you from over-stretching and straining the trapezius and neck muscles. |
| Saddle Discomfort or Sores | Incorrect saddle height, tilt, or the saddle shape is wrong for your anatomy. Confirm saddle is level and height is correct. | Ensures your weight is supported by your sit bones (ischial tuberosities) rather than sensitive soft tissue areas. |
Advanced Tips for bike fitting guide for road cycling
Once you've mastered the basics, you can explore more nuanced aspects of your fit. These often require more experience to assess and may benefit from professional guidance, but they are worth considering as you progress.
Flexibility and Core Strength: A static bike fit is only half the story. Your body's condition plays a huge role. Poor hamstring flexibility will make it difficult to sustain a low, aerodynamic position, often leading to lower back pain. Similarly, a weak core forces you to support your upper body with your arms, leading to hand and shoulder pain. Incorporating regular stretching and core exercises (like planks and bridges) will not only make you a stronger rider but also allow you to hold a more efficient position comfortably.
Anatomical Asymmetries: Very few people are perfectly symmetrical. It's common to have a slight leg length discrepancy. Over thousands of pedal strokes, even a few millimetres can lead to issues. A professional fitter can identify this and may add a small shim under the cleat of the shorter leg to balance your pedal stroke and prevent hip or back pain.
Crank Arm Length: Most bikes come with crank arms whose length is proportional to the frame size. However, this might not be optimal for your specific leg length or riding style. Shorter riders, or those with pre-existing knee or hip issues, can often benefit from shorter cranks. Shorter cranks reduce the range of motion at the top and bottom of the pedal stroke, which can ease joint strain.
Foot Correction (Varus/Valgus Wedges): If you find your knees tend to dive inwards or outwards as you pedal, it could be due to the natural tilt of your forefoot. Specialised, angled wedges can be placed between your cleat and your shoe to cant your foot slightly, promoting a more linear knee track. This is a complex adjustment best diagnosed by an experienced fitter.
Bike Fitting Guide For Road Cycling FAQ
How often should I check my bike fit?
It’s a good idea to review your fit at least once a year or if you start to feel any new discomfort. You should definitely perform a new fit if you change a major contact-point component like your saddle, handlebars, pedals, or shoes. Significant changes in your own body, such as a major increase in flexibility or a large change in weight, are also good reasons to re-evaluate your position.
Is a professional bike fit worth the cost?
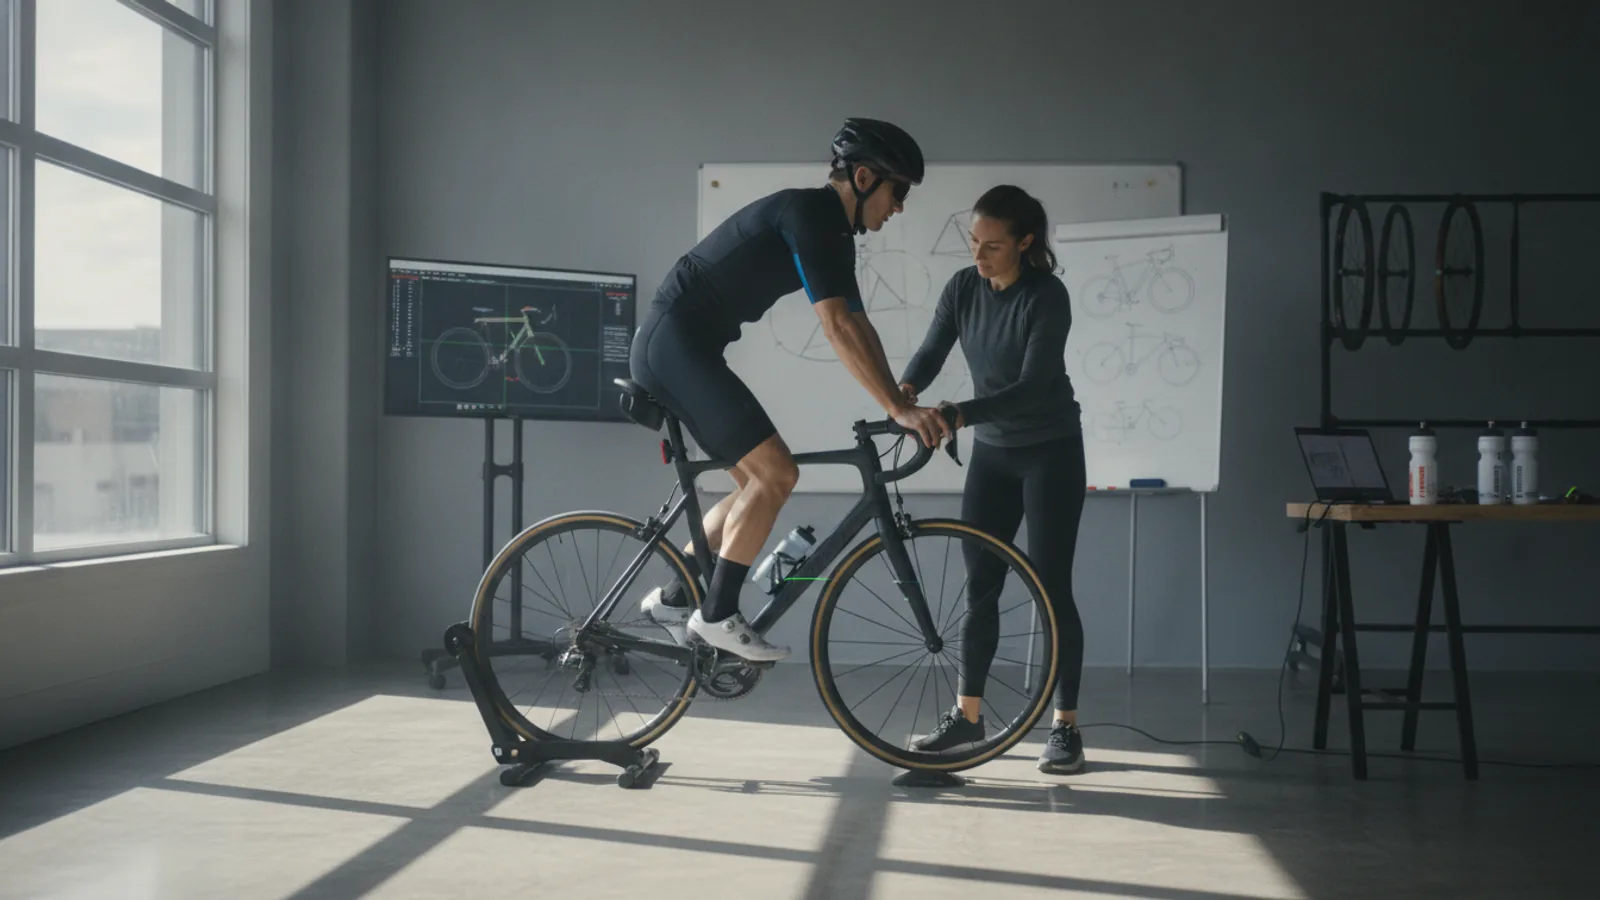
For most serious cyclists, yes. A DIY fit can resolve major issues and get you about 90% of the way to an optimal position. However, a professional fitter uses specialised tools, motion-capture technology, and years of experience to fine-tune that last 10%. They can spot subtle asymmetries and imbalances that are nearly impossible to diagnose on your own. If you ride frequently, plan to tackle long-distance events, or have persistent pain despite your own adjustments, the investment is almost always worthwhile.
Can I use a bike fitting app on my phone?
Bike fitting apps can be a useful tool to guide your DIY process. They typically use your phone's camera to analyse your riding posture and measure key body angles, offering suggestions for improvement. They provide a more data-driven approach than simply going by feel and can be more accurate than eyeballing your knee angle. However, they lack the anatomical expertise and problem-solving ability of a trained professional.
My new position feels strange. Should I change it back?
Feeling a bit strange is normal, especially if your previous position was far from ideal. Your body has adapted to that old position, and activating the correct muscles in a new, more efficient posture can feel odd at first. Give your body two or three short rides to adapt. However, if the "strange" feeling is actually sharp pain, numbness, or severe discomfort, you should stop and revert the last adjustment you made.
Final Checklist for bike fitting guide for road cycling
- Saddle Height: Your knee has a 25-35 degree bend at the bottom of the pedal stroke.
- Saddle Fore/Aft: A plumb line from your forward knee drops through the centre of the pedal axle when cranks are horizontal.
- Saddle Tilt: Your saddle is perfectly level as a starting point.
- Cleat Position: The ball of your foot is aligned over the pedal spindle with a natural rotational angle.
- Handlebar Reach: You have a slight, comfortable bend in your elbows and are not over-stretching.
- Handlebar Drop: The height difference between saddle and bars is comfortable for your flexibility and causes no neck or back strain.
- Lever Position: Brake and shift levers are easy to reach from the hoods without straining your wrists.
- Torque Checked: All bolts on the seatpost, saddle clamp, stem, and handlebars have been tightened to the manufacturer's specification with a torque wrench.
- Test Ride Completed: You have tested the new position on a short ride and checked for any pain points.
- Measurements Logged: You have a written record of your key measurements (e.g., saddle height from bottom bracket) for future reference.